
DIY Bunny Ears Flower Crown
Monday, March 7th, 2016

I got everyone’s Easter outfits last week. I’m not saying it’s super important to Jesus if the kids show up to church in coordinating spring finery, but if it was MY rise from the dead I’d definitely appreciate the effort. It just doesn’t feel like Easter in New England without everyone in pastel clothing and ruffle socks shivering under their winter coats.
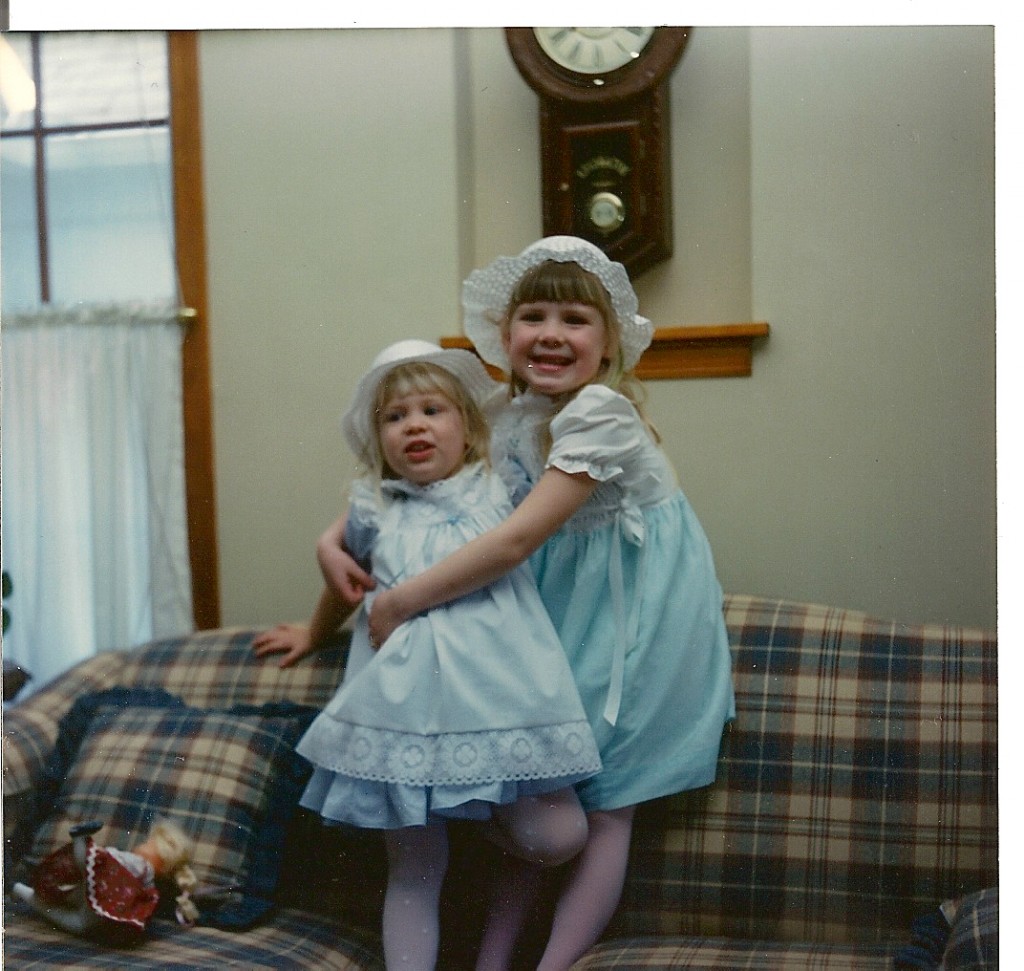
Photo taken indoors, because it was probably snowing outside. I have both of those dresses upstairs in Caroline’s vintage dress collection.
While I did decide to forego forcing a hat on Lincoln, I managed to find one for Evan I expect will be worn daily almost all summer. I feel like the fact that he loves straw fedoras means I’m not completely screwing up this parenting thing. Caroline is still debating her sartorial options right now – the availability of Easter bonnets in the $1 section of Target makes it quite the decision – but I thought I might add an option and combine a couple of her favorites into one thing: A bunny ears flower crown headband.

I got all my supplies at Michael’s Crafts and spent about $40 total, but that number is really high because I had to replace my missing glue gun. If you keep better track of your’s than I do of mine you should be able to get out of the craft store for under $20 and the supplies to make 8+ headbands. You could definitely get the same supplies at Joann or A.C. Moore.

-Plastic Headbands (I found them with the party favors)
– Silver spray paint
– Fake flowers
– Glue gun
– Scissors
– Pipe cleaners
– Florist wire (I didn’t end up using it, but it was a pipe cleaner alternative in case they were too short)
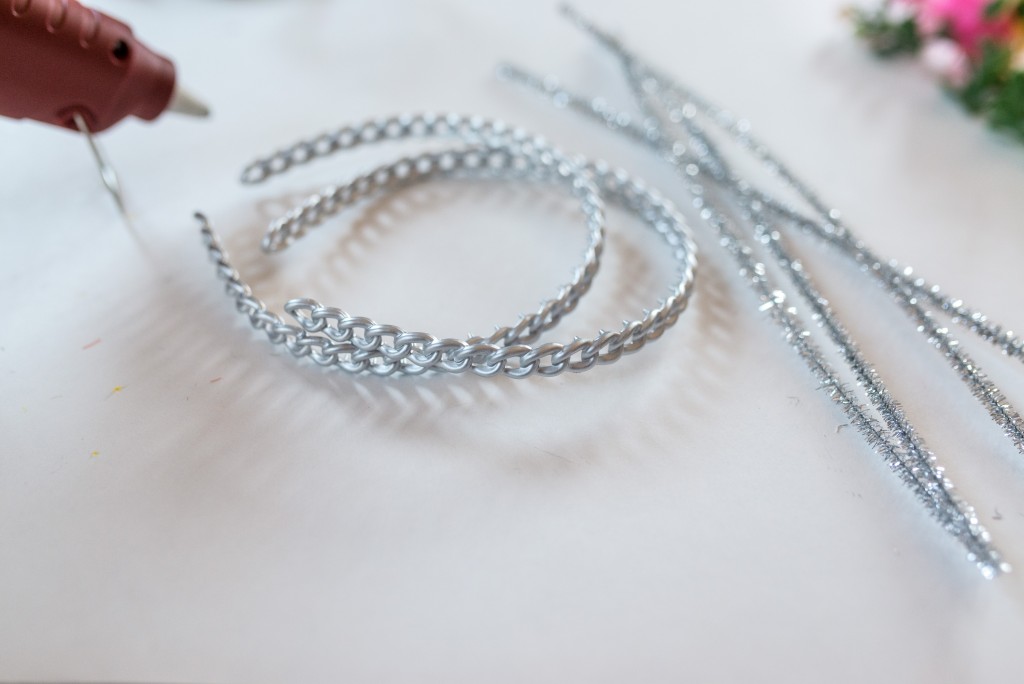
I really lucked out with these headbands. I was looking for plain, one band plastic but these were even more perfect. Don’t go too thin or you won’t have enough space to glue down the flowers very well. These had holes that made attaching the pipe cleaner ears a piece of cake.
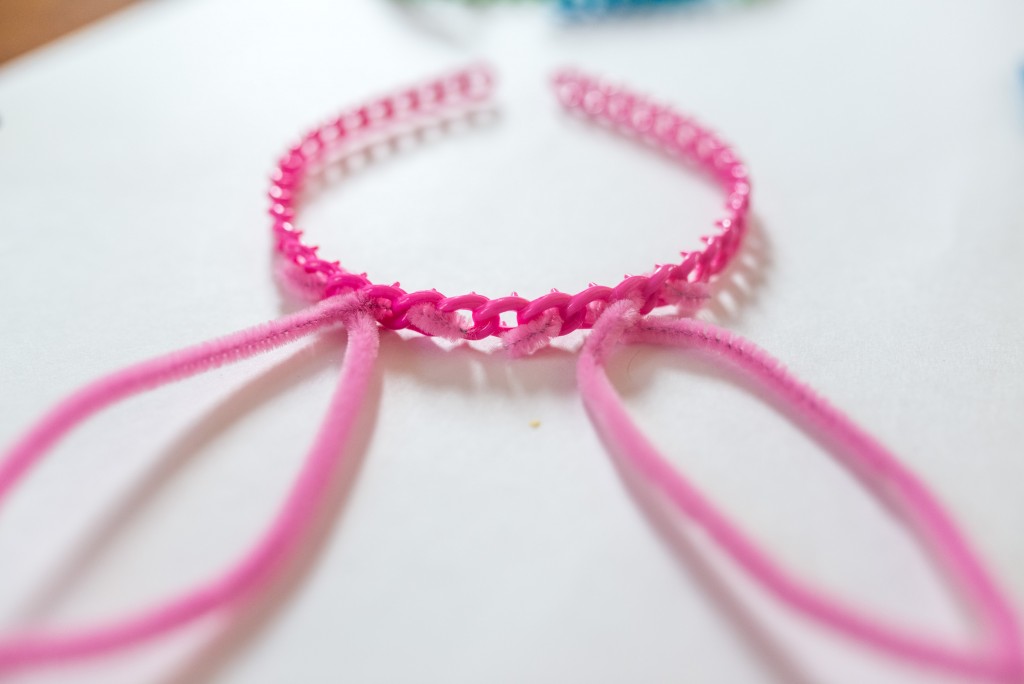

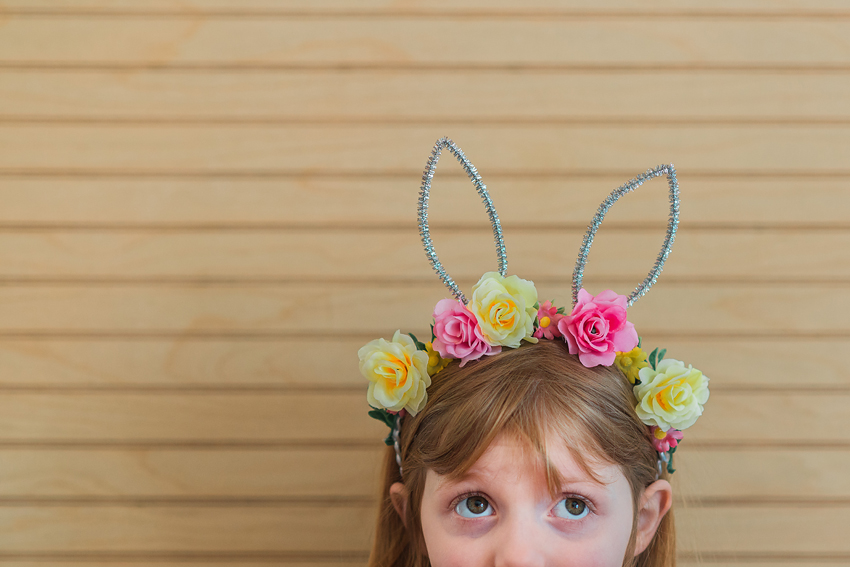
To make the ears, I just folded a pipe cleaner in half and creased it to make a point, then laced the ends through the headband. Then I twisted each ear around twice to secure it. I knew I’d be glue a bunch of flowers over them, so I didn’t add any glue just for the pipe cleaners. For the non-flower version, a dab wouldn’t hurt.
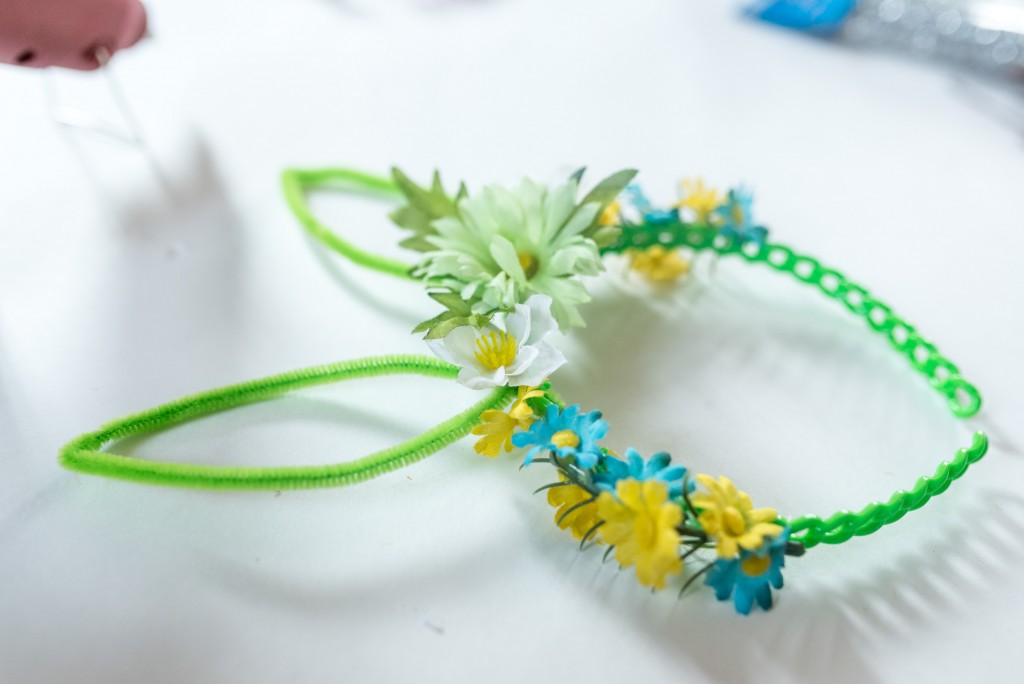
Then I chopped up the flowers into more manageable pieces. I kept some as stems to make a base and made some single flowers. I also pulled out a bunch of the leaves to mix and match among the flowers.


The glue held surprisingly well. I burned my fingers a few times holding the flowers on while it dried but nothing tragic. I put a few bigger flowers up near the ears on each crown, but mostly did the smaller flowers.
Evan requested a sparkly silver pair for himself, so I spray painted a couple of the headbands silver and used the sparkly silver pipecleaners.
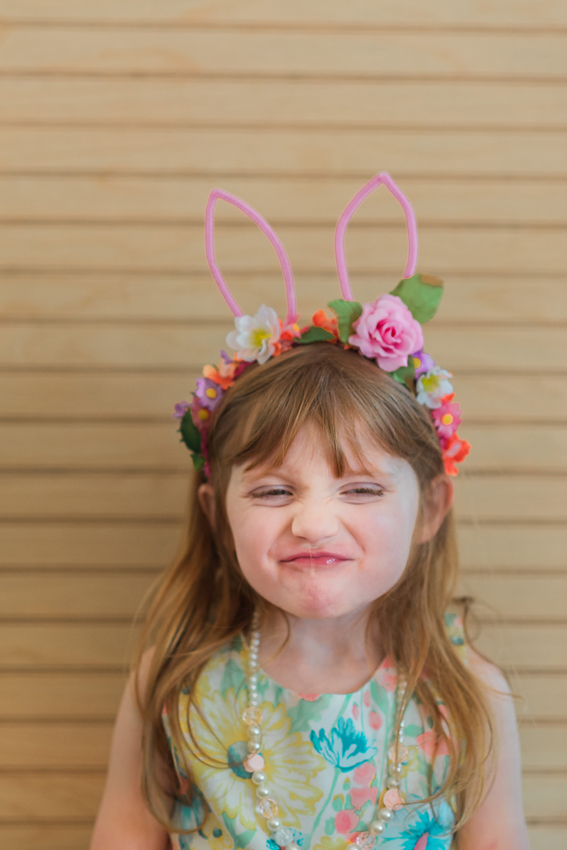
This was my final bunny ears flower crown (and non flower crown) collection after about 90 minutes:

All three flower crowns match Caroline’s new Easter dress, so she’s going to have a hard time choosing. I guess we’ll just have to plan a few spring-themed photoshoots so she gets a chance to wear all of them. Today, Linc just really wanted to get in on the action.


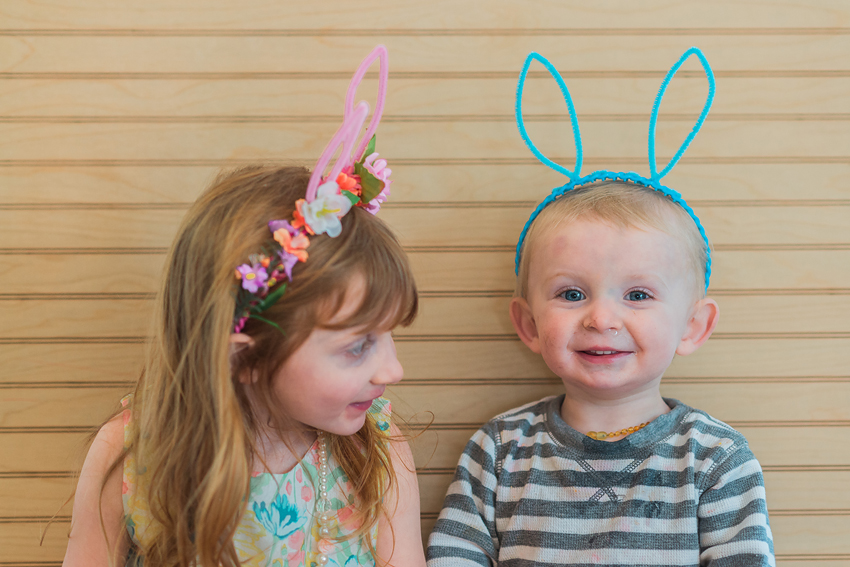


That wasn’t really much of a how-to because bunny ears flower crowns are really easy. The good part is hot glue is cheap and pipe cleaners bend, so even if Linc insists on grabbing them we can repair any missing flowers and reshape the ears. I recommend leaving an inch or so of headband at the bottom bare so the plastic parts of the flowers don’t poke anyone where it really hurts. Other than that it’s all personal decisions. A single color flower would look very chic – like all white or all peach. If you wanted bigger ears you could use the fuzzy floral wire and then you could get away with bigger flowers for a grown up. I should have bought more greenery to do a boy-friendly version (Evan vetoed the flowers, even though I tried) besides just the plain ones. But overall, I love how they came out. It’s so rare I have a crafty vision these days, it was wonderful to get a chance to be creative.
Let me know if you make any, I’d love to see pictures!!


