More April
Wednesday, April 22nd, 2020I had a much-needed social distance mom date with a friend this week. We sat in the back of our cars 10 feet apart and gabbed for two hours. One of the things we talked about was how one of the most stressful parts of this already stressful situation is being completely unable to plan anything besides maybe what’s for dinner. Birthdays, vacations, family visits, holidays, summer camps, sports leagues and anniversaries aren’t happening as scheduled. Pretty much all we can look forward to right now is an unknown time some distance in the future where life might go back to being boring and normal and we can complain about stuff like traffic and Dunkin’ making my order wrong.
In a lot of ways, this isn’t that big of a change for me. We don’t live near parents or grandparents or aunts or uncles, so we often spend our holidays as a nuclear family. I’m also an expert at postponed or canceled plans thanks to our life being at the mercy of the Navy. Oh, you thought you had a beach vacation? Too bad, your husband’s work schedule has completely changed and you’re not going. My kids are old hands at Daddy missing their birthday or not seeing him for months at a time so the travel ban that keeps him in New Hampshire is disappointing but not insurmountable.
Unfortunately for me, the way I’ve always handled the uncertainty and inevitable disappointments is by staying as busy as possible. Military families can handle a lot, but we do it with a little help (or a lot of help) from our friends. The combination of social distancing and a completely empty calendar is tough. Add in things like a broken dishwasher or a flooded basement to deal with alone – because although there are people I could call in a life-or-death situation, I feel terrible asking them to leave their houses for something so low on the emergency scale – and I am not the woman I’ve been pretending to be for the last 10+ years. I can do it completely on my own for about 72 hours at a time before having some sort of ugly breakdown.
But I don’t think that’s unreasonable during quarantine. I don’t even feel bad about it. I just keep reminding myself that at some unknown time some distance in the future, life will go back to being boring and normal. Hang in there.
Here is what April 7th looked like at our house:


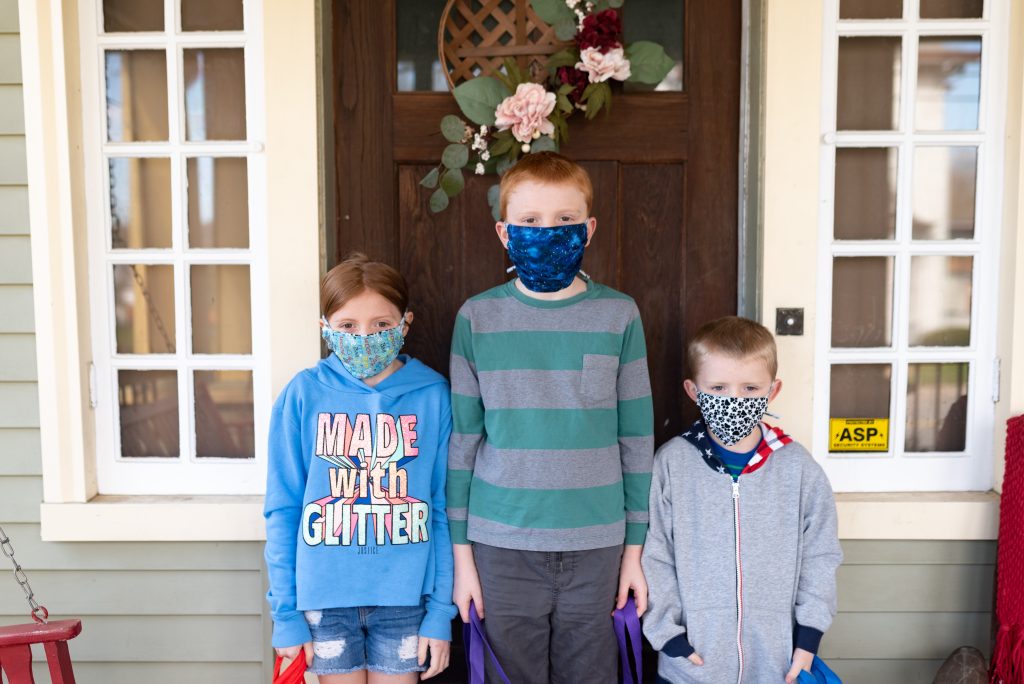
The only time the kids leave the house is to walk down the hill and pick up school lunch a few times a week. 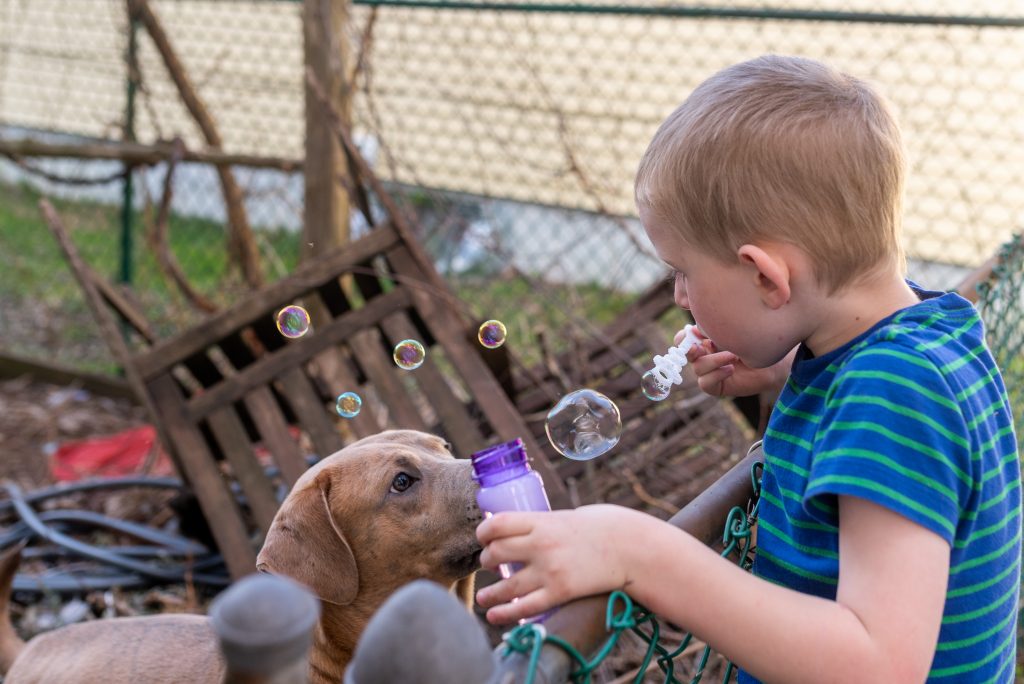
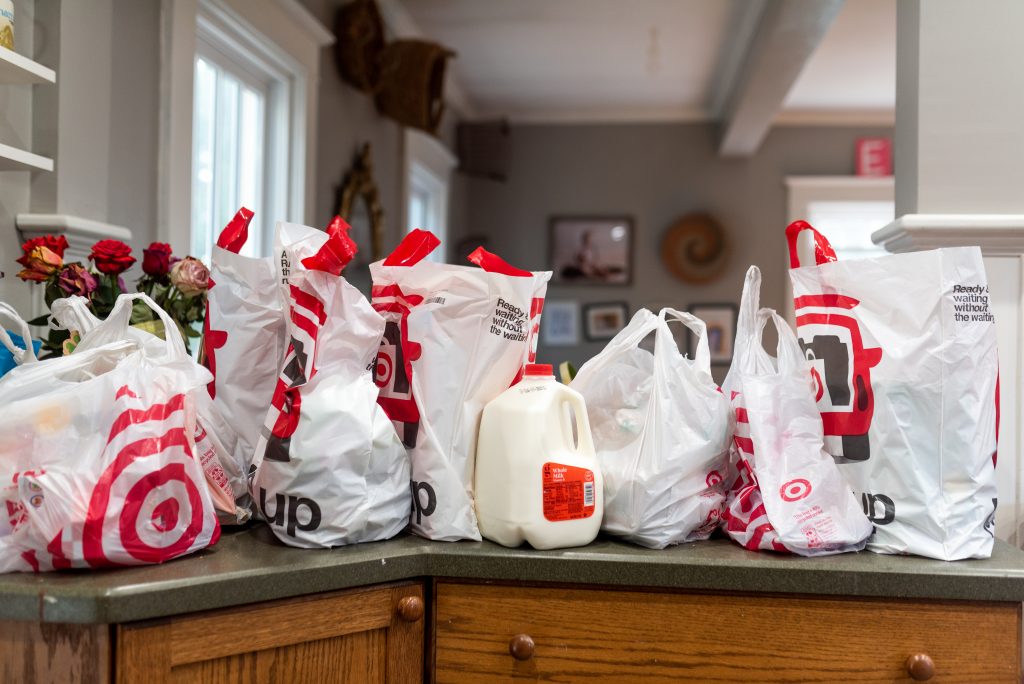
Target pick-up is a lifesaver. 
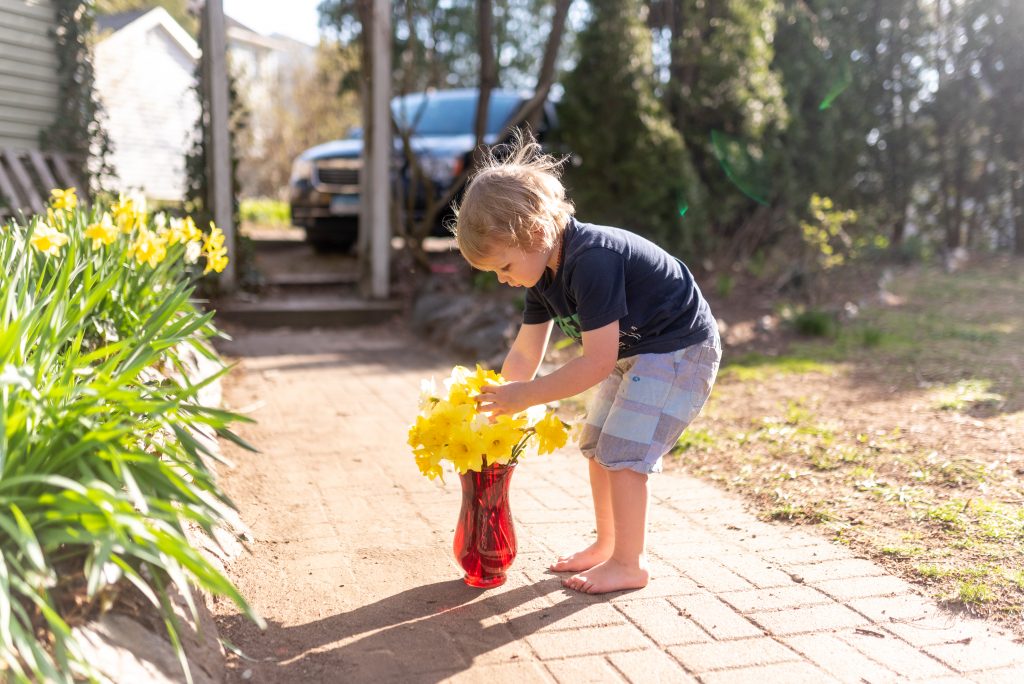


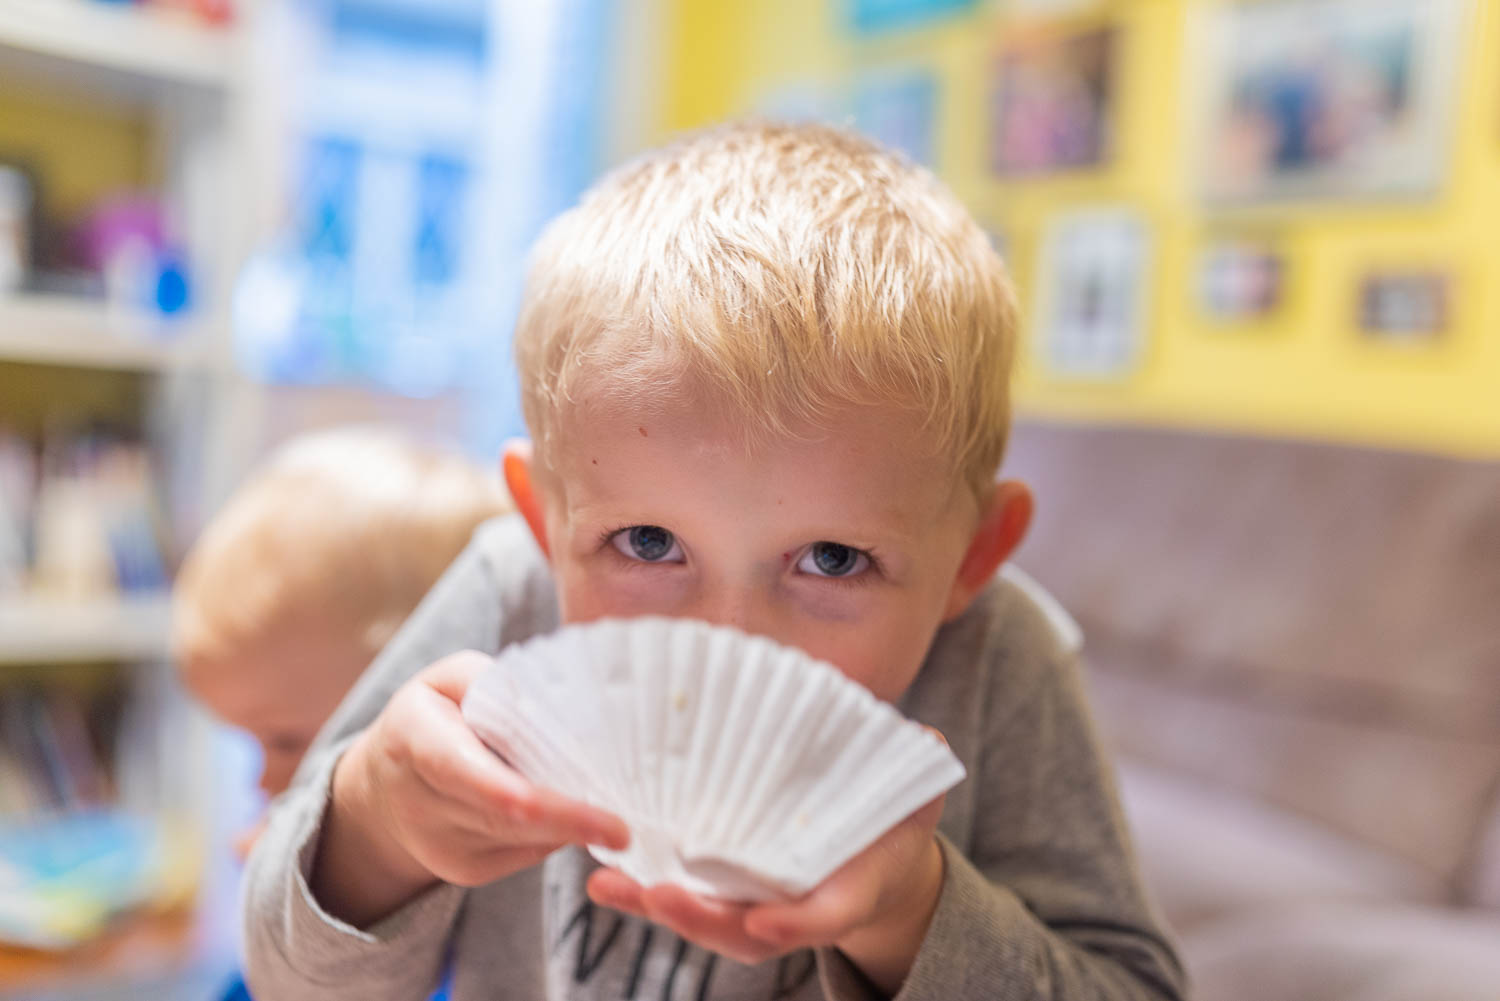
One of many quarantine craft projects 


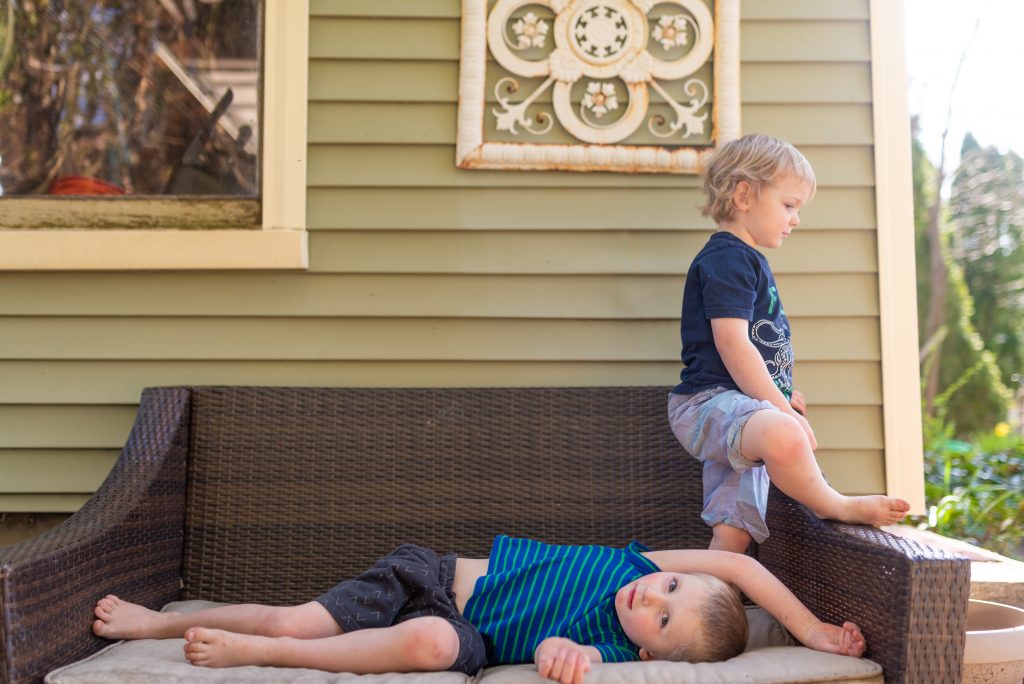
Snacky Plate