Linc and Finn’s Superhero Birthday Party!
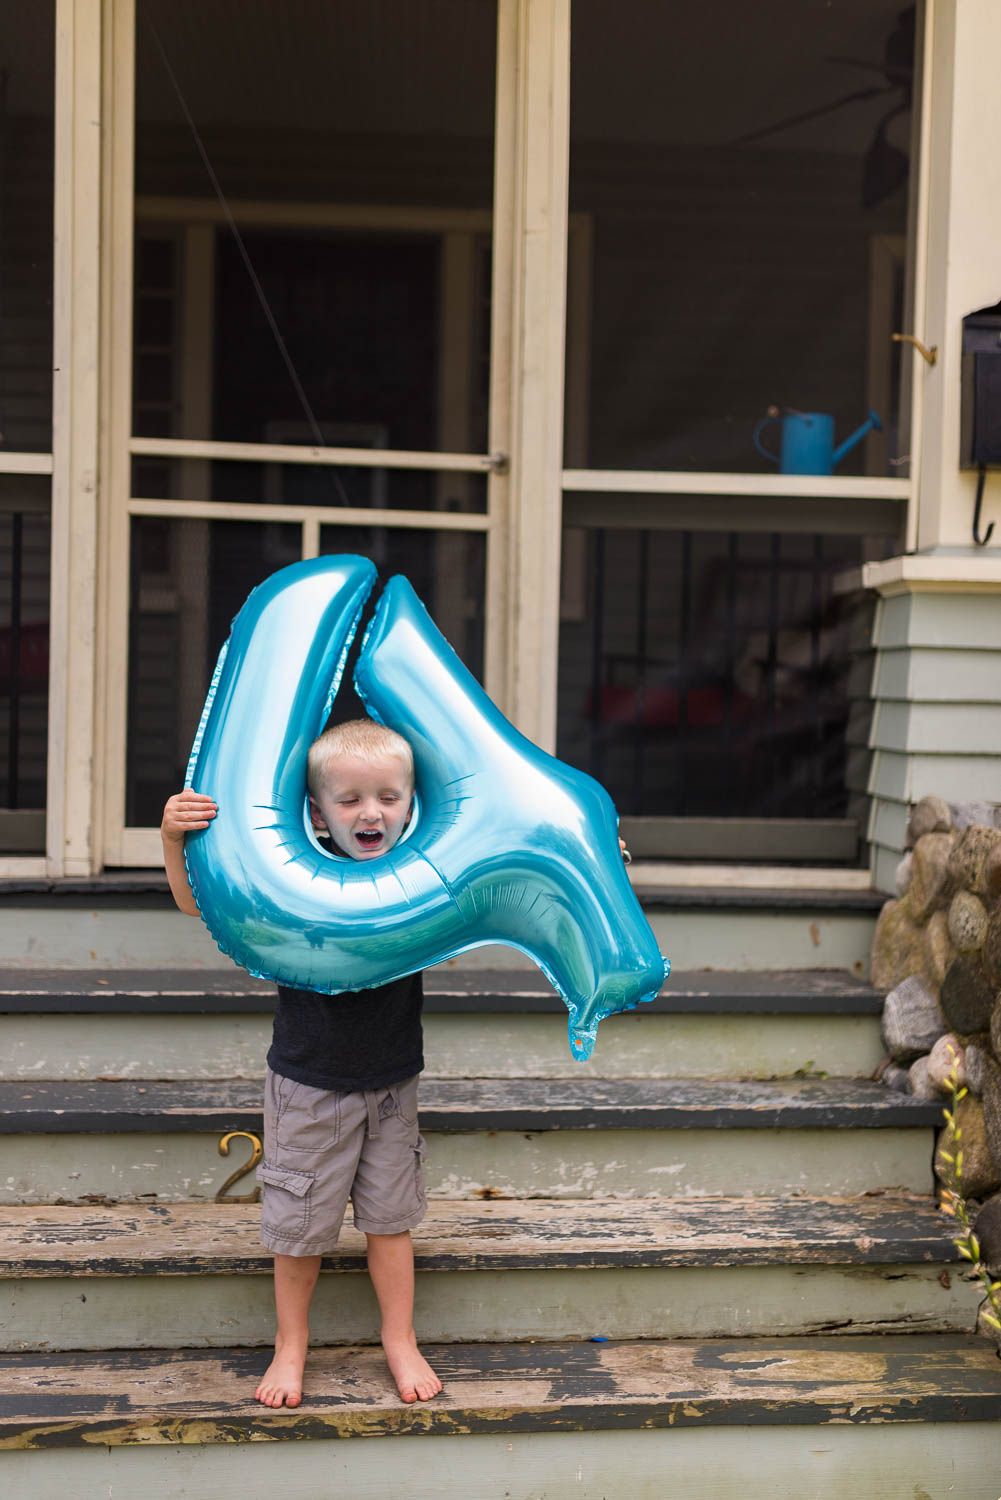
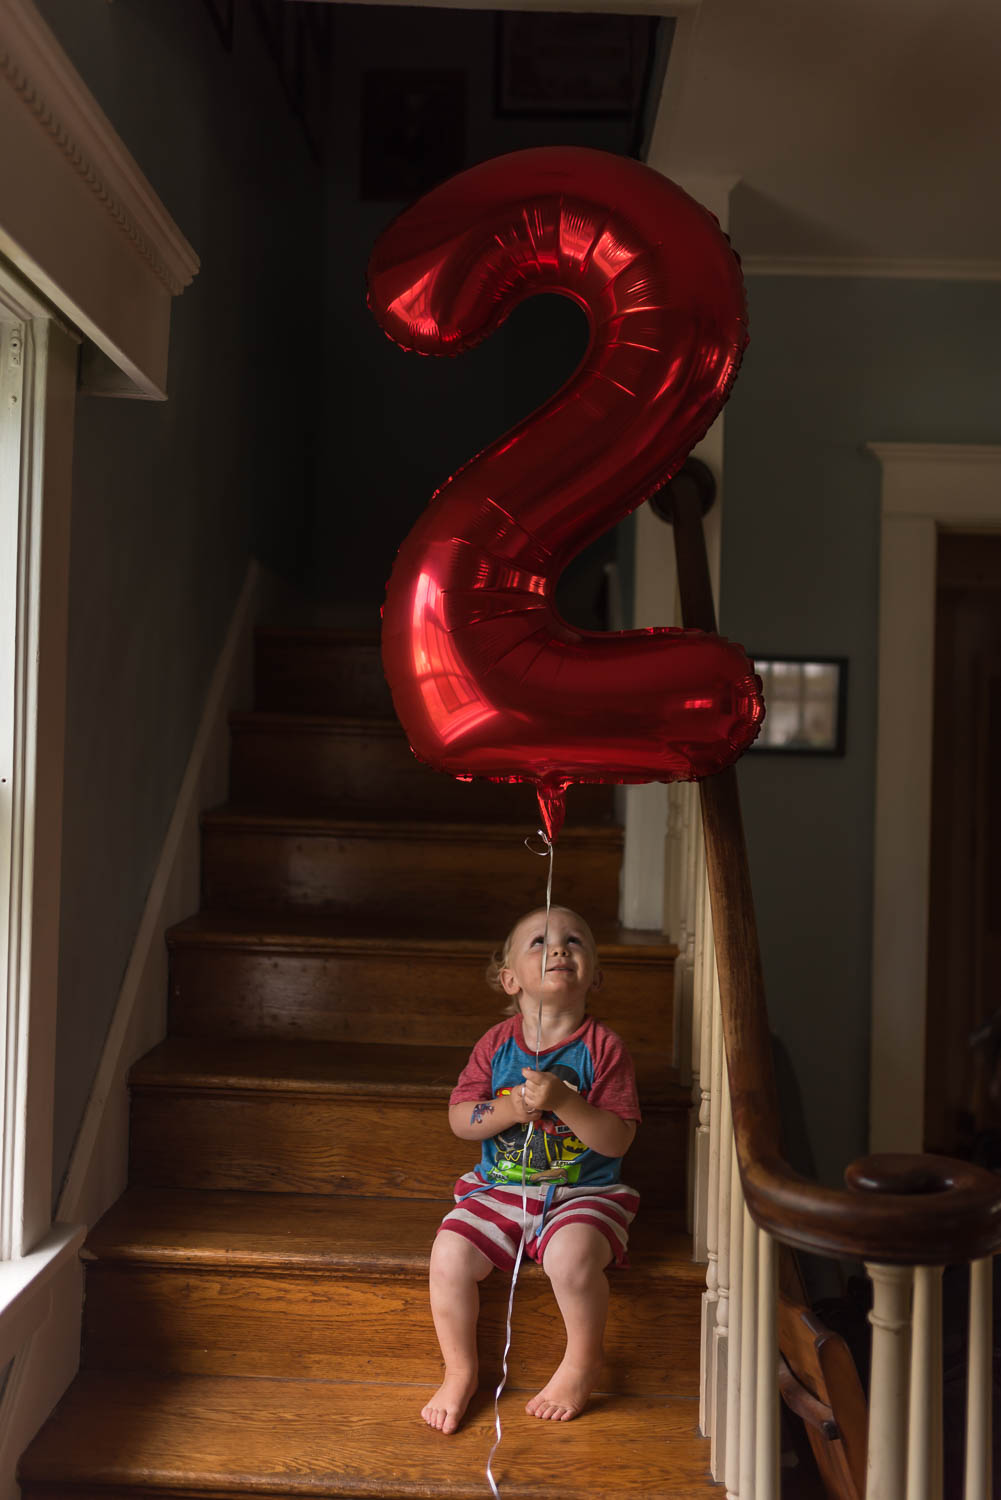
Monday, August 20th, 2018Lincoln turned 4 on July 23rd and Finnegan is turning 2 on August 30th. Since they’re only 5 weeks apart, they get joint birthday parties. I asked Lincoln what kind of party he wanted, and since he’s totally Batman-obsessed, his answer was A SUPERHERO BIRTHDAY PARTY! Finnegan has no objections because a) he’s still 1 and b) he also loves superheroes. I had a hard time narrowing it down to which superheroes – generic Super Hero stuff? The DC Universe? Just Marvel Comics? Am I a monster for mixing it all together? I decided I didn’t actually care and we went with every kind of Superhero from all the worlds. Fight me if you think that’s a crime.
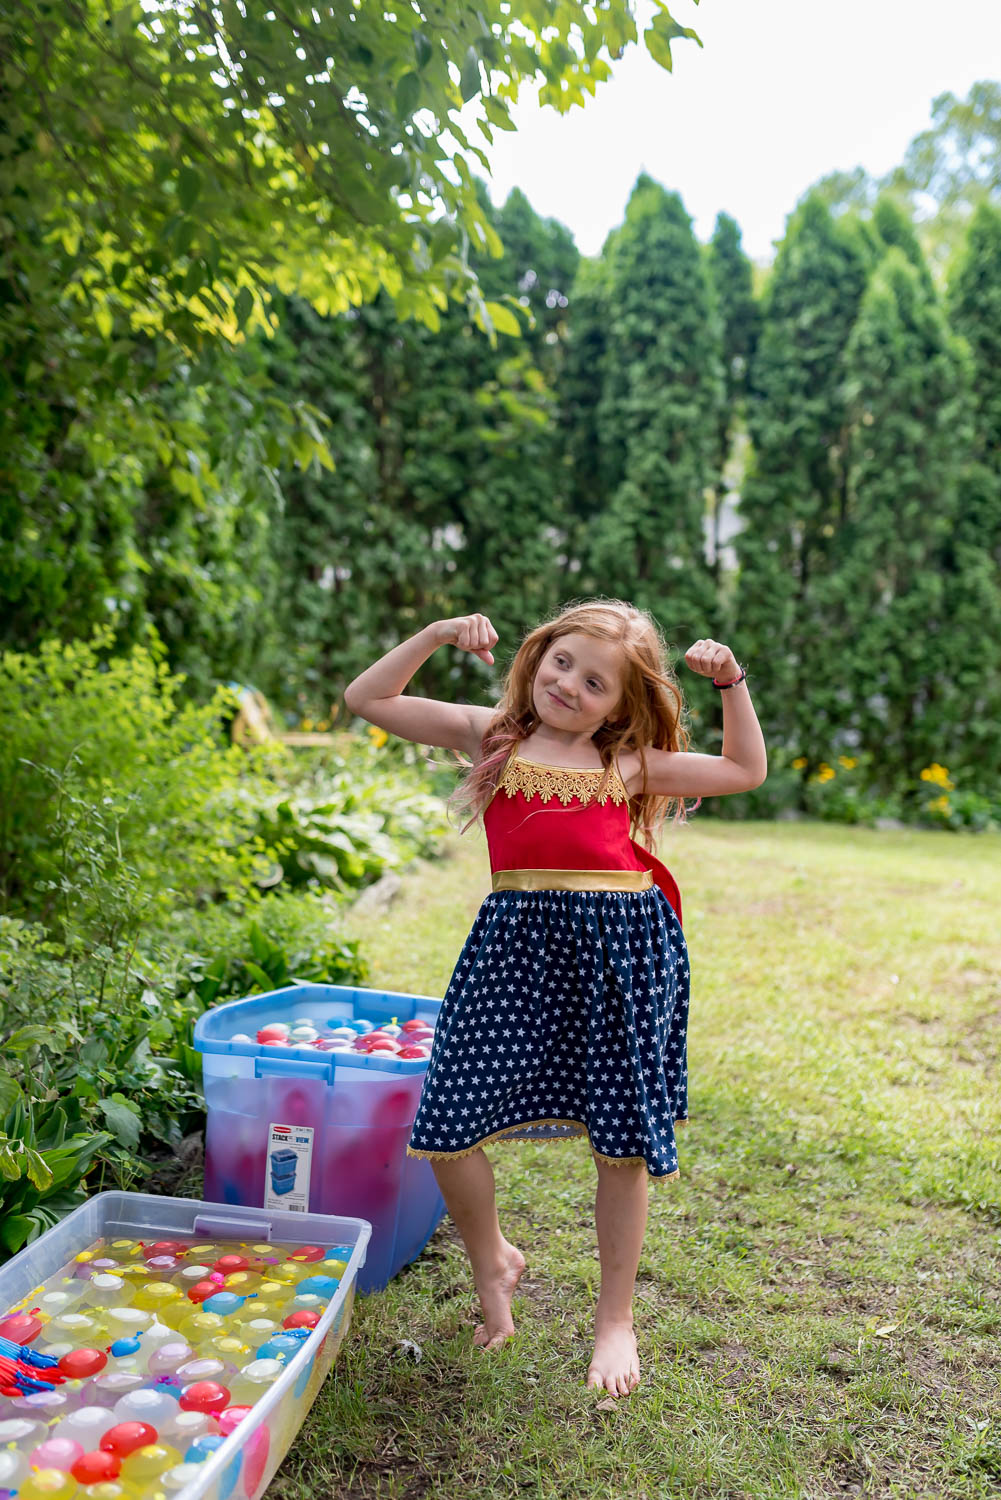
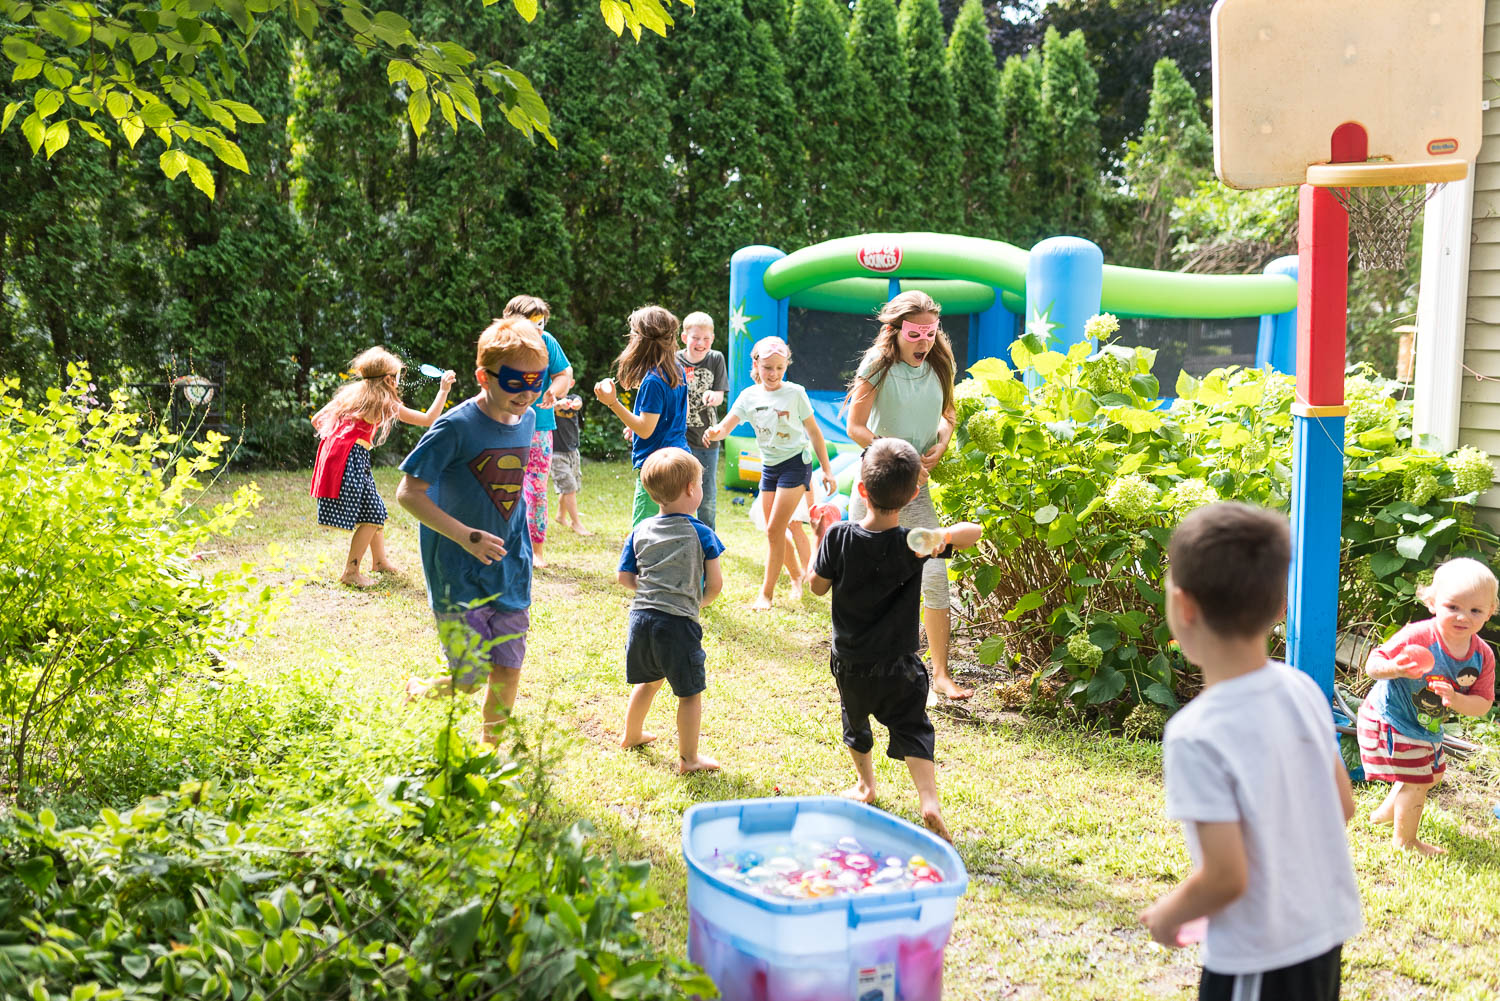
After years of throwing Evan cold spring parties and Caroline cold winter parties, it is SO FUN to throw a party where 90% of the activities are outside. This was also the first party where I planned actual activities for almost the entire time – we had 2 straight hours of games before we did cake, then the grown-ups all got to sit down while the kids burned off some of their energy. It was the most fun I’ve had at one of my own parties ever, even though the noise level was insane.
Previous parties for Lincoln and Finnegan: 2017 Children’s Books, 2016 Camping Party, 2015 Twinkle Twinkle Little Star
There is a ton of superhero stuff available everywhere from party stores to Target, so I grabbed stuff whenever I saw it. The pinata was from Walmart, the napkins are Party City, the backdrop and banner are from Amazon. All the crepe paper and regular balloons and silly string came from the dollar store and the quick-fill water balloons have been purchased for the last year every time I saw a pack on clearance (although they are available online as well). Let me know if you’re looking for anything and I can be more specific.
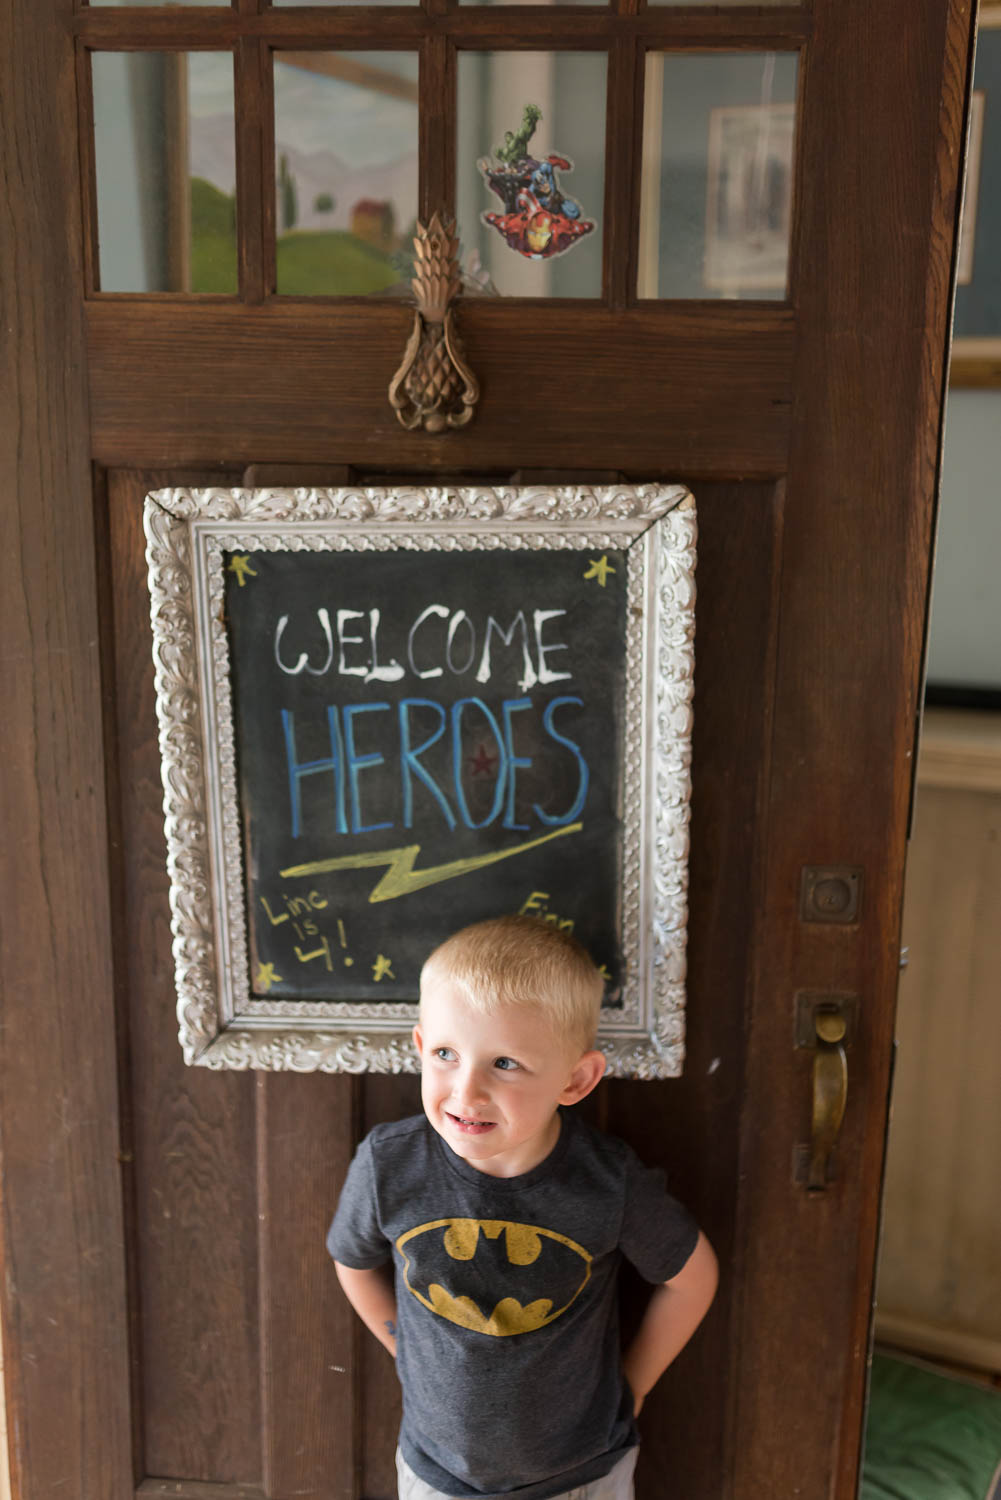

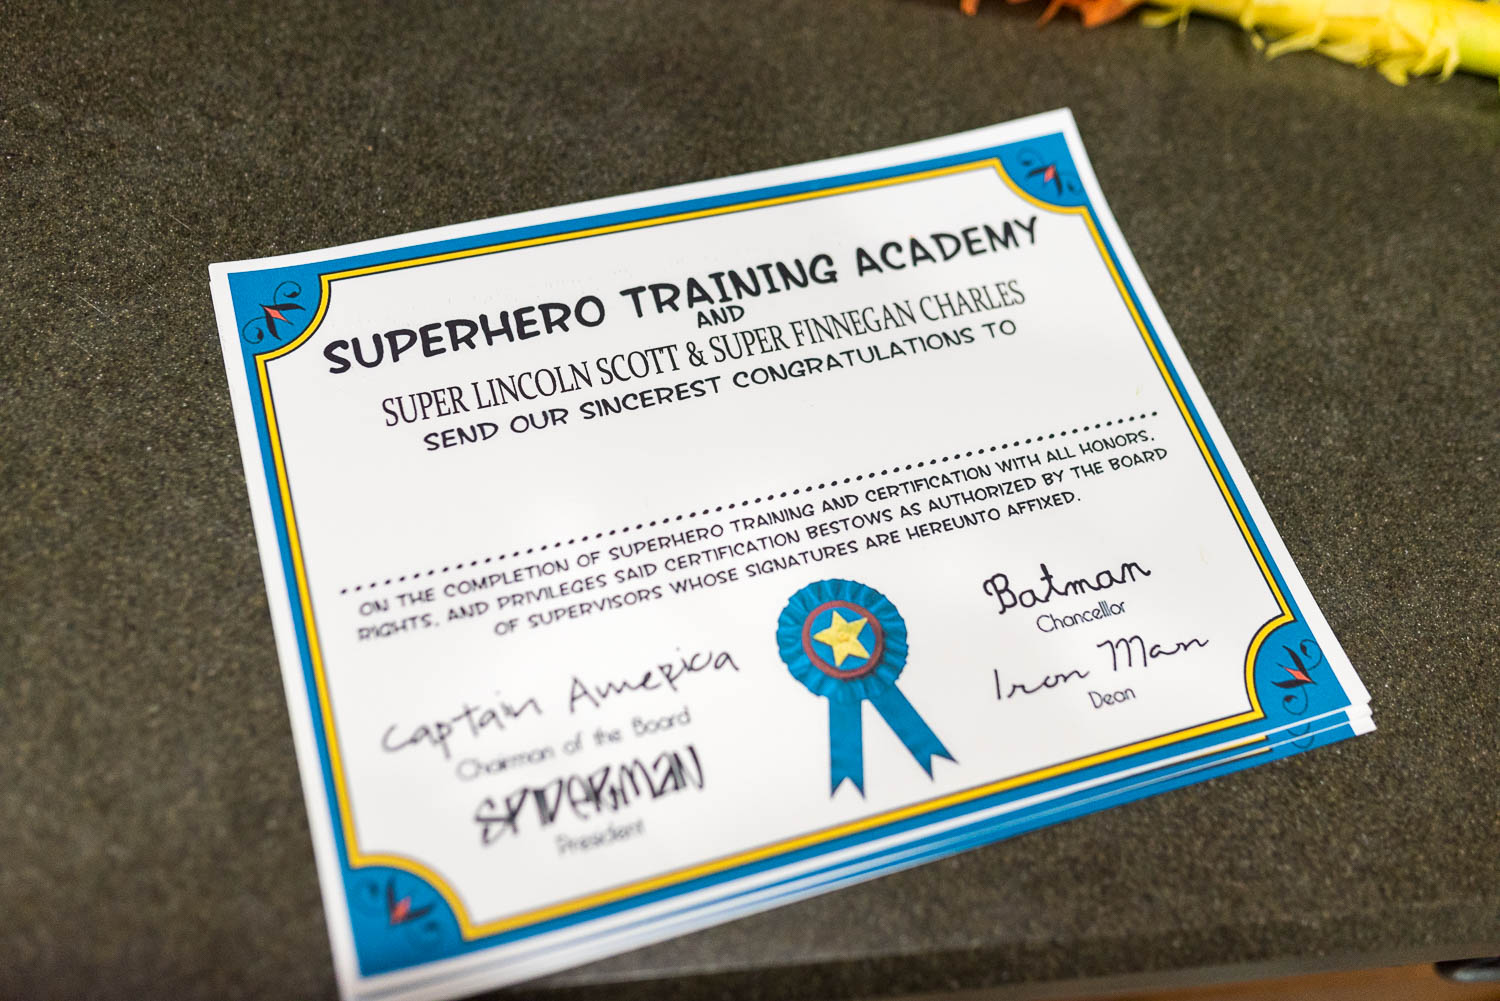
The party wasn’t just a party – it was Superhero Training School. The kids had to complete their superhero tasks in order to get a certificate (my husband had all the parents fill in the name once the kids were here).
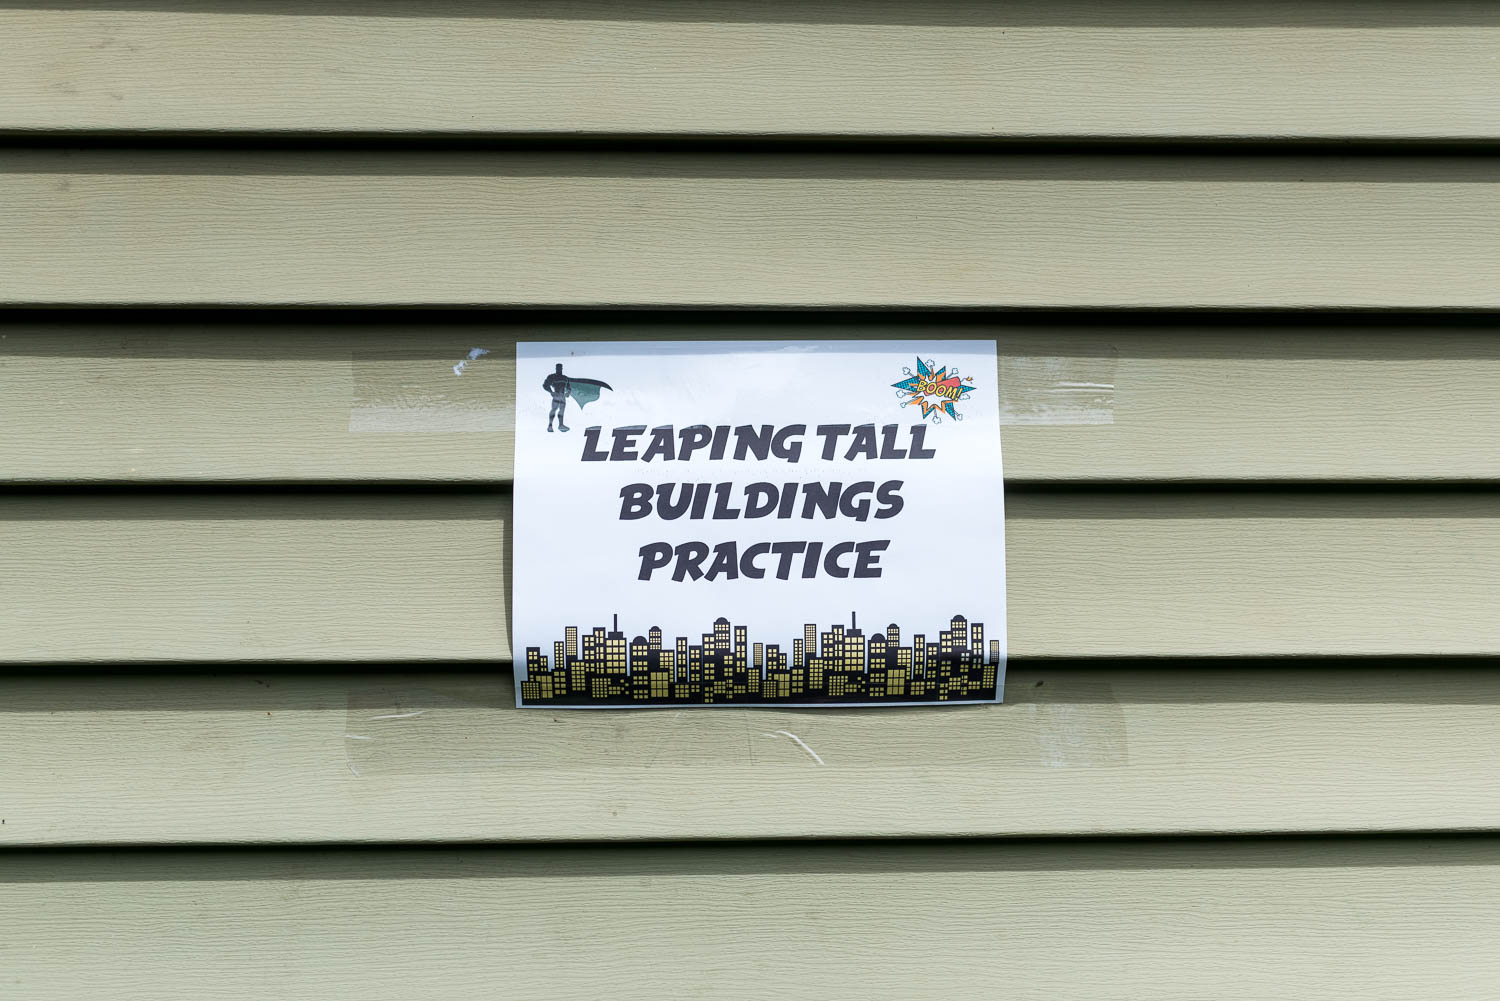
The training stations included:
Hulk Smash Bricks
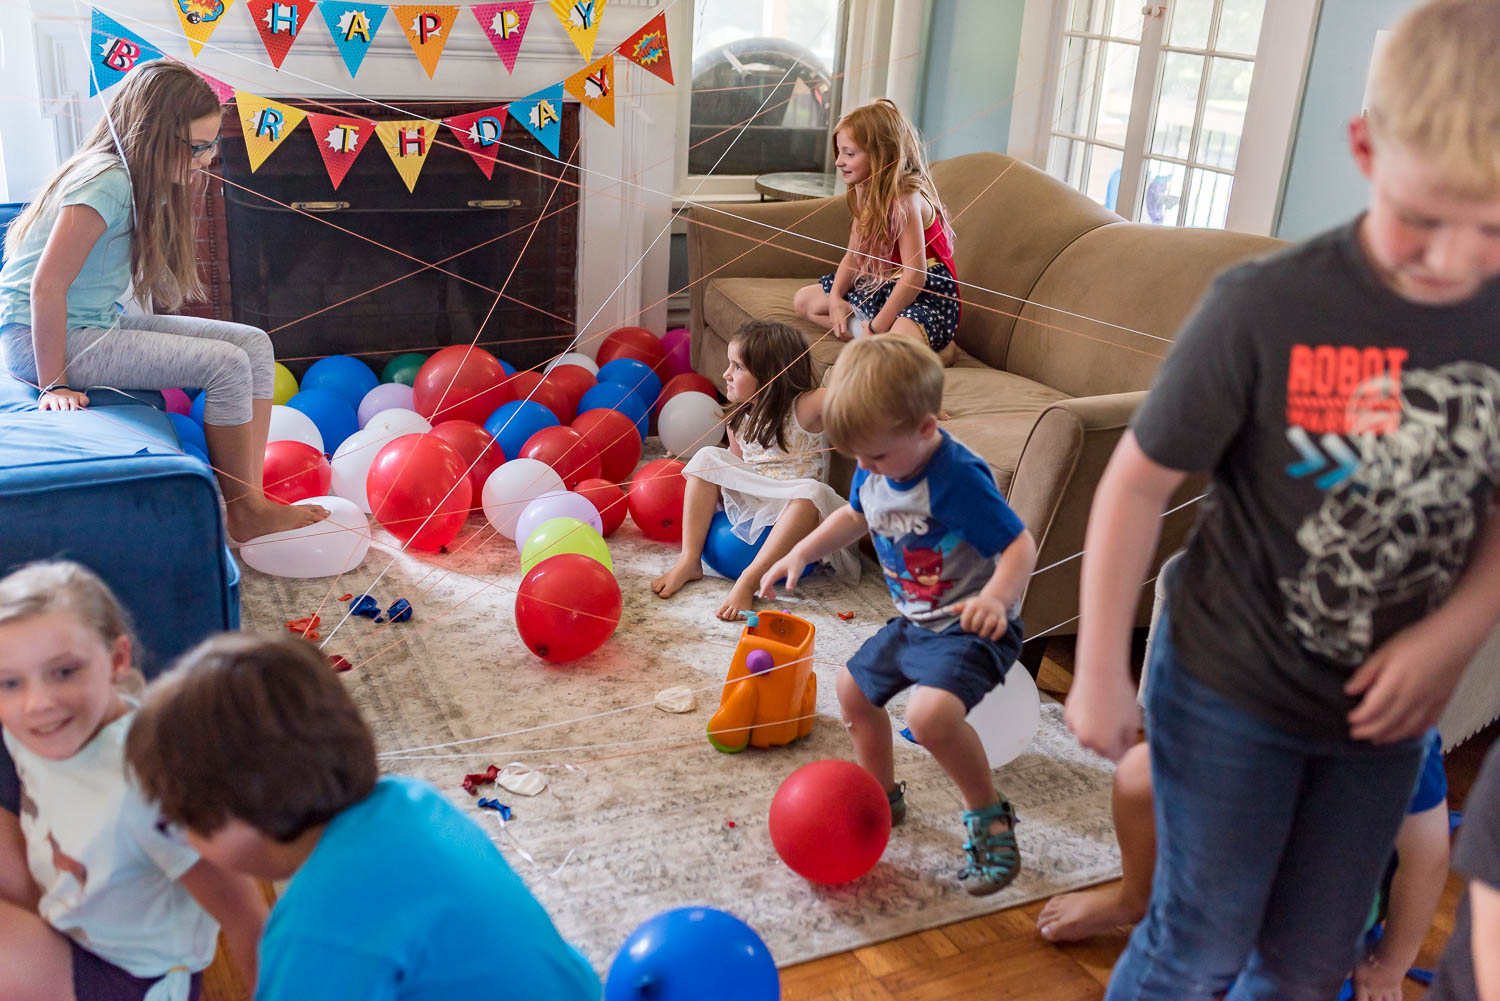
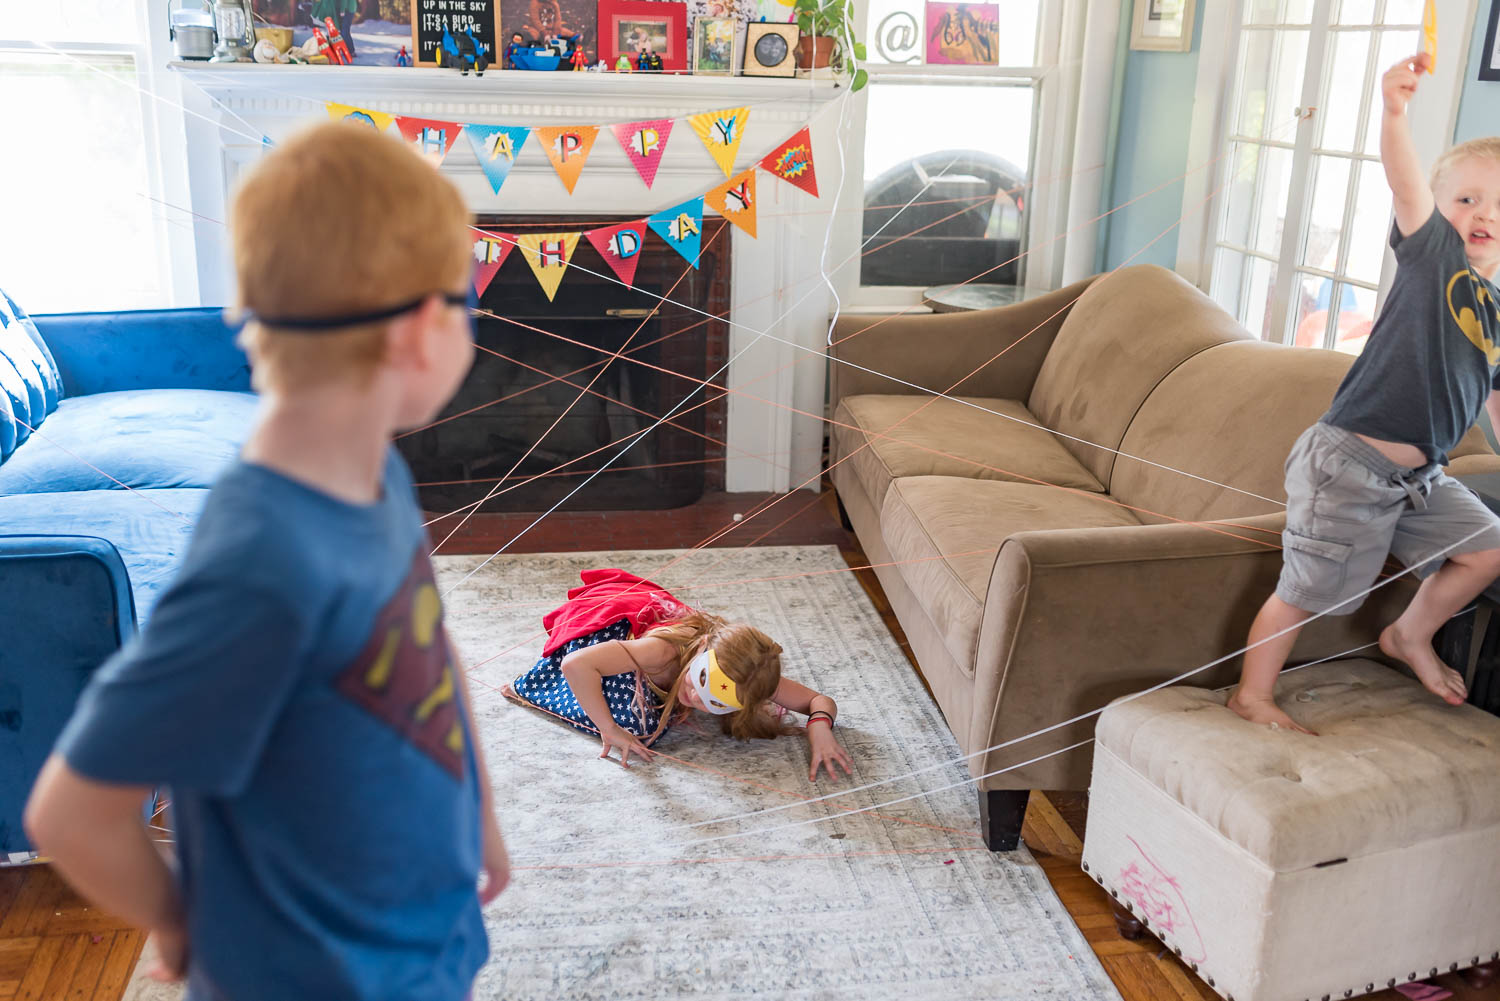
Laser Maze
Bomb Disposal
Web Slinging
Bad Guy Capture
Leaping Tall Buildings Practice
AND
The Infinity War

We used jumbo cardboard blocks to make smashable tours for Hulk Smash practice.


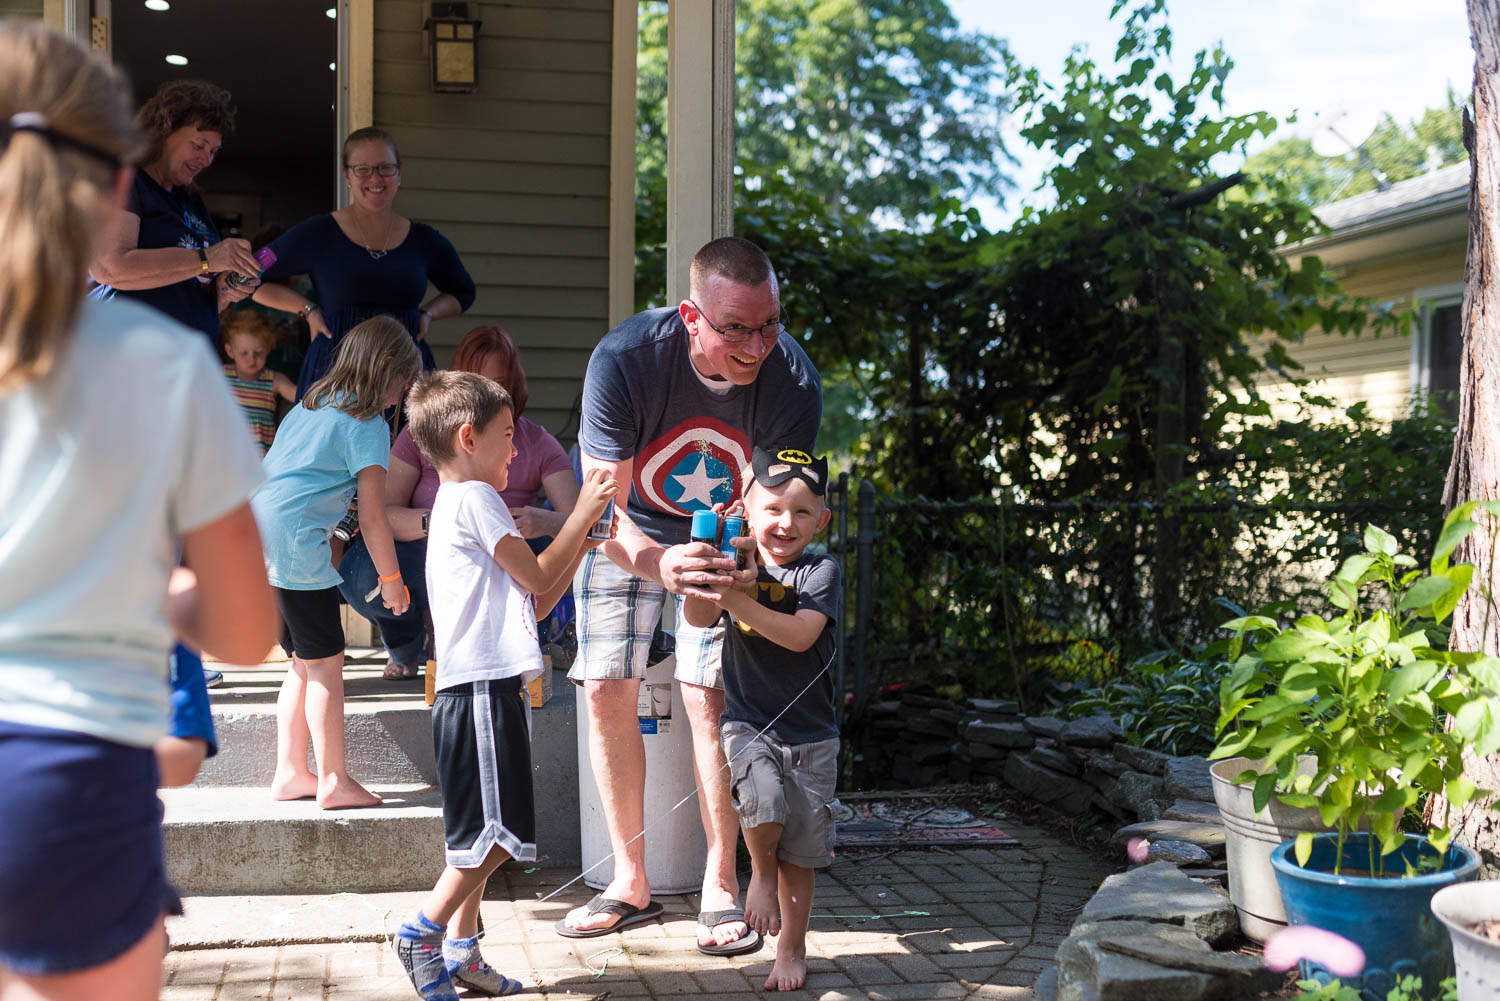
Almost all the kids at the party fell between age 12 and age 2, and they all loved all the activities. Once they picked out their mask they were ready for training.

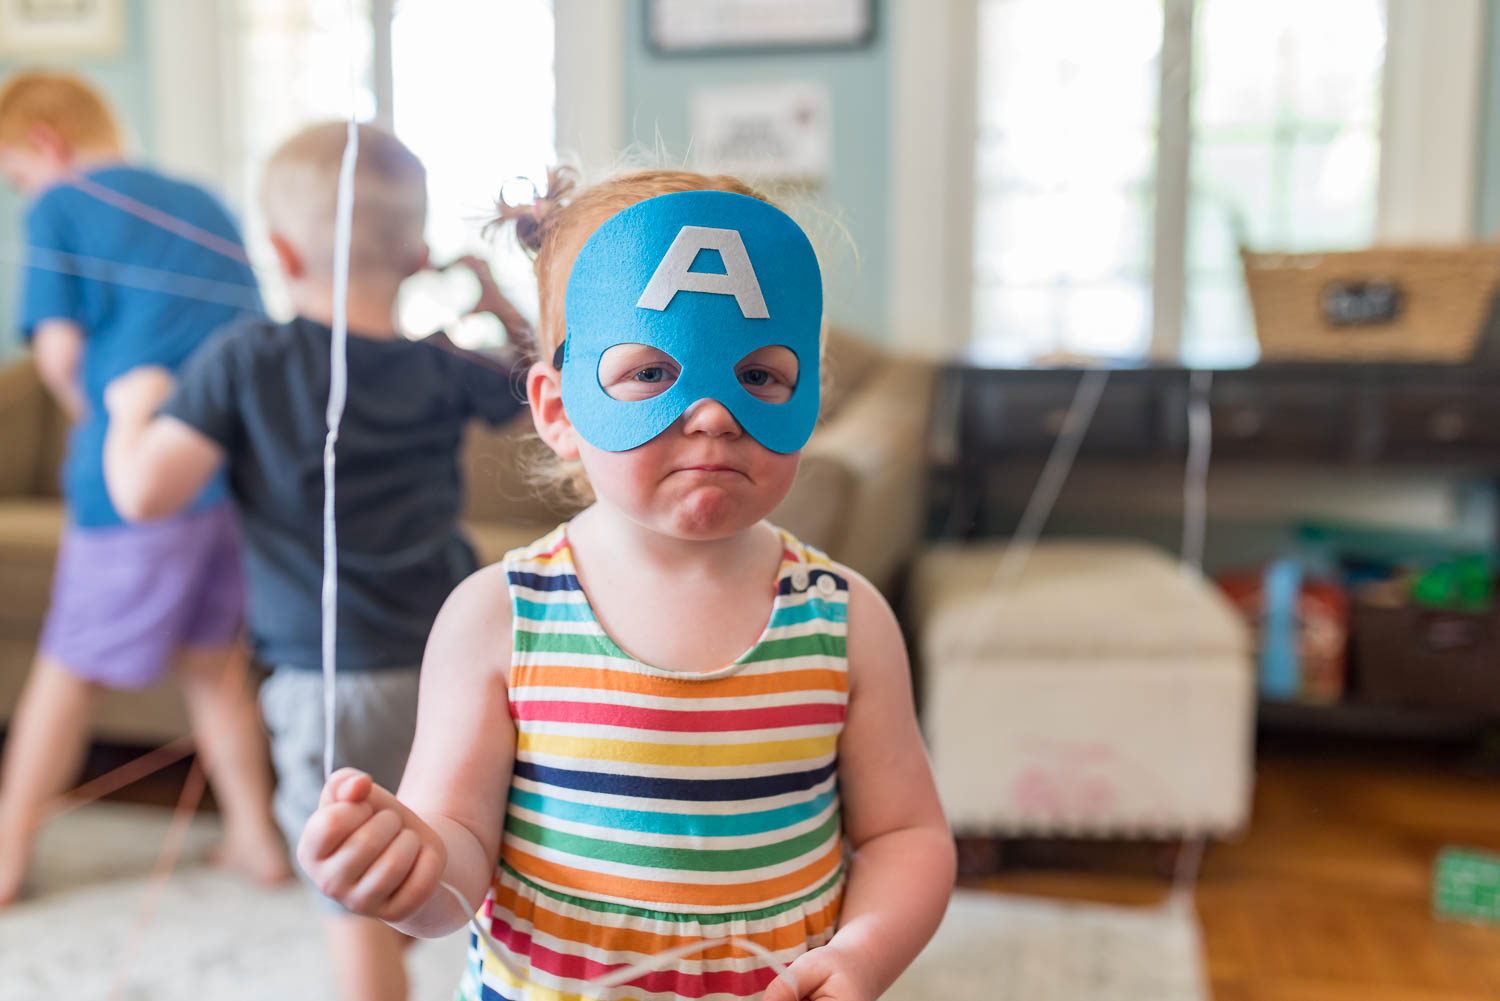
These masks I got from Amazon were GREAT – 2 of each hero so there wasn’t any fighting over who got to be the only Superman or whatever, plenty of “girl” heroes, and they held up through a lot of wear without falling apart.


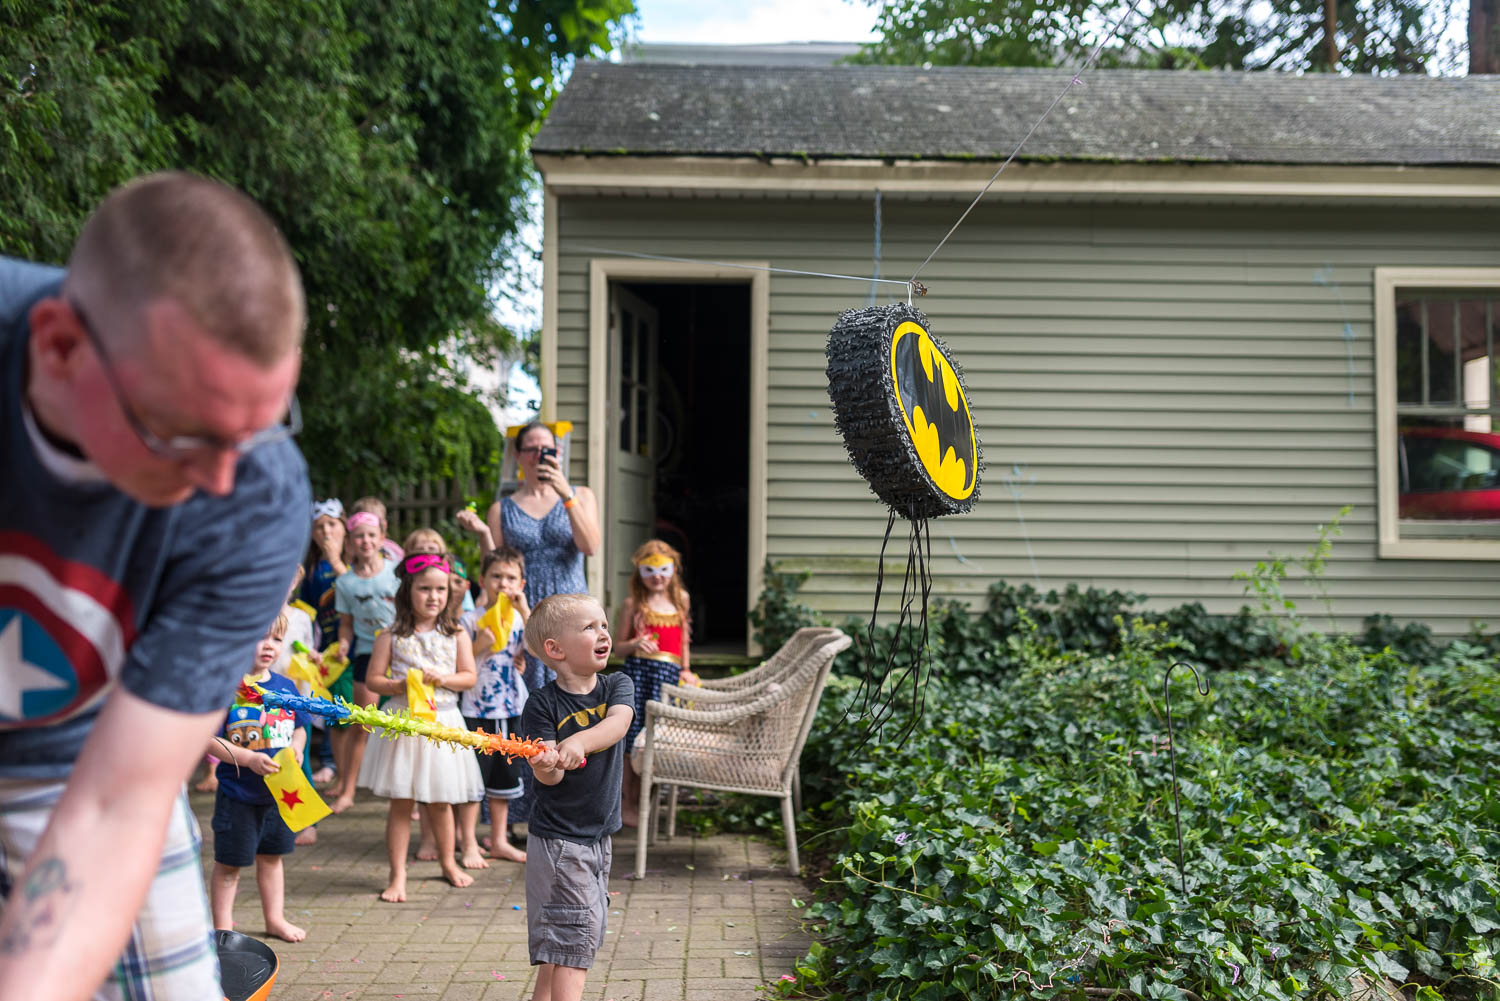
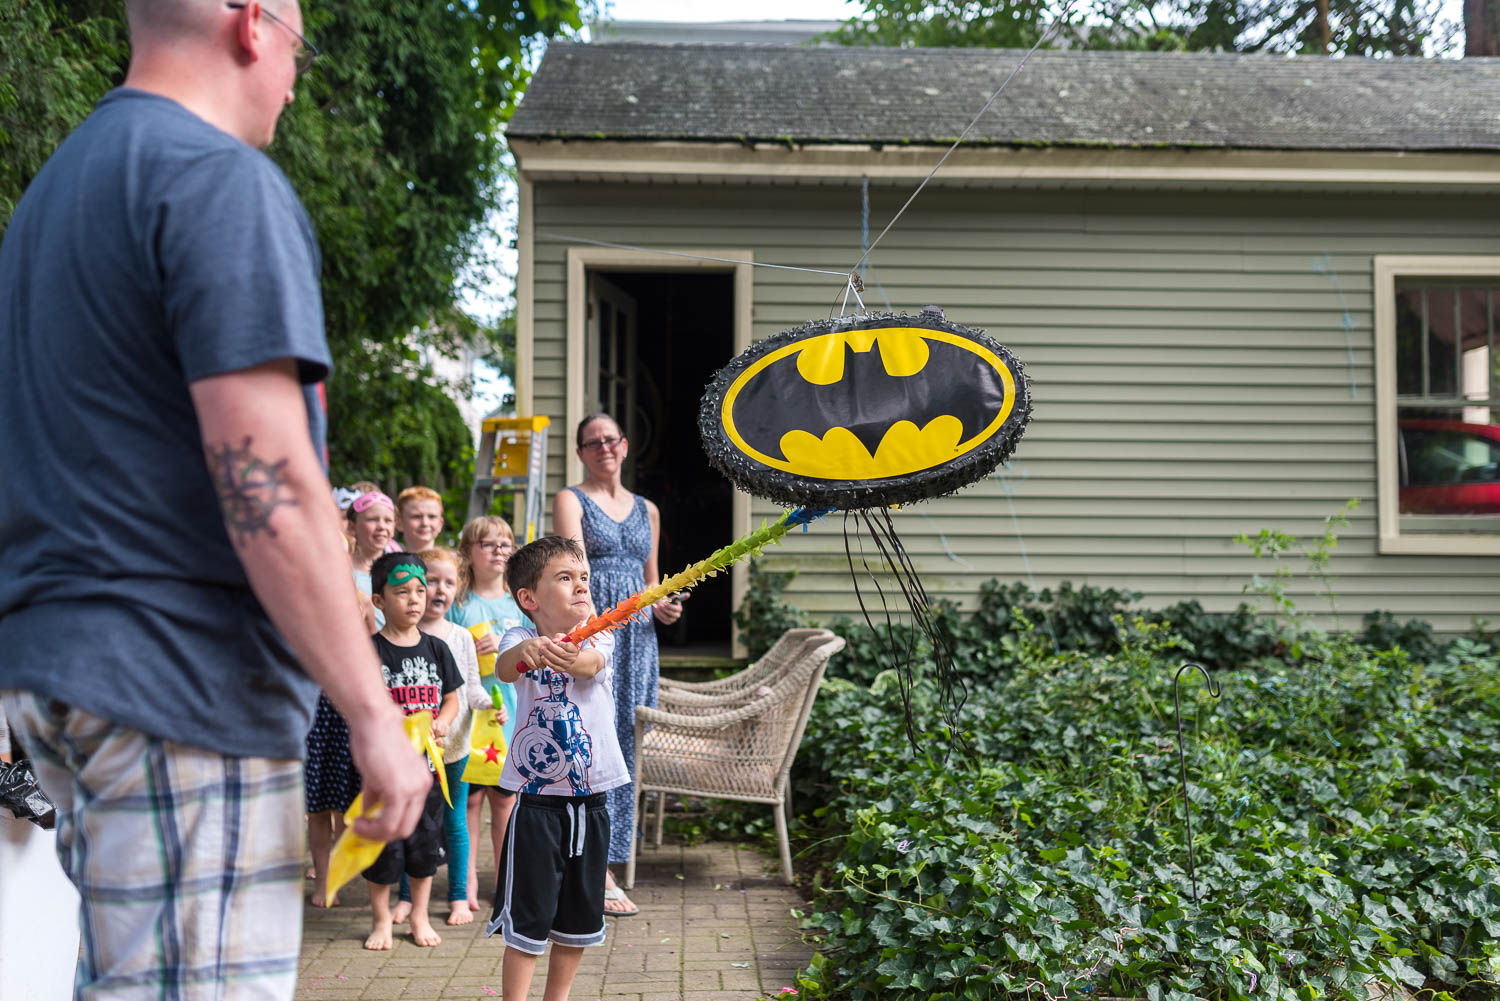
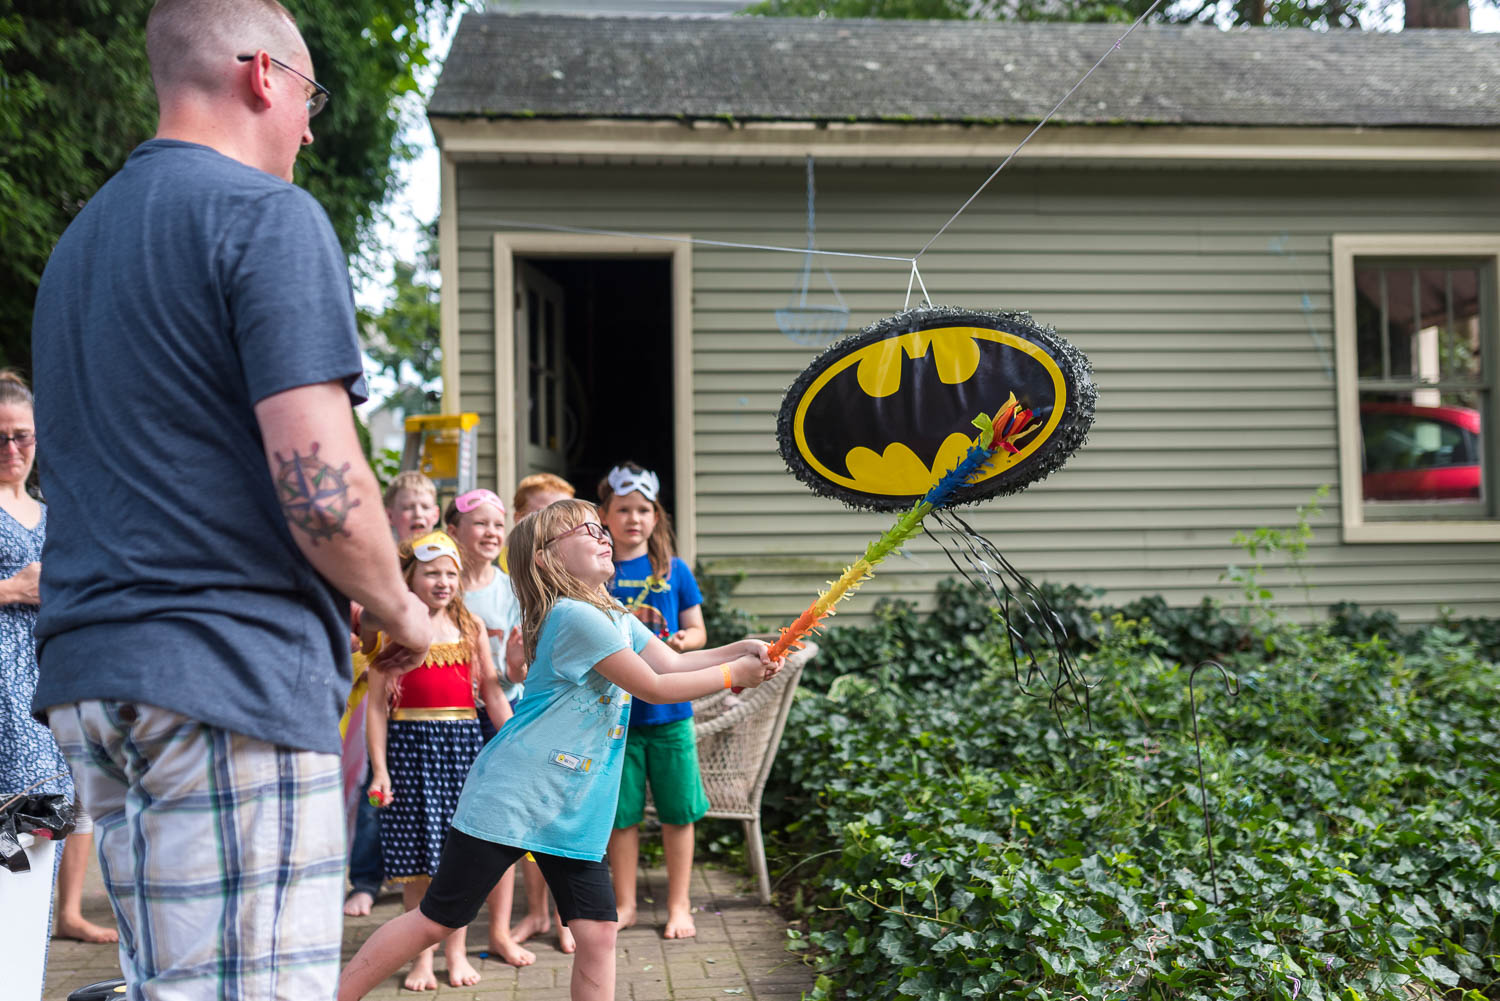
After we finished the training, we celebrated with the pinata. I hate the pull-strings, so we did it the old-fashioned way. We lined the kids up by size and they each got two hits. It survived all the way to the last kid!


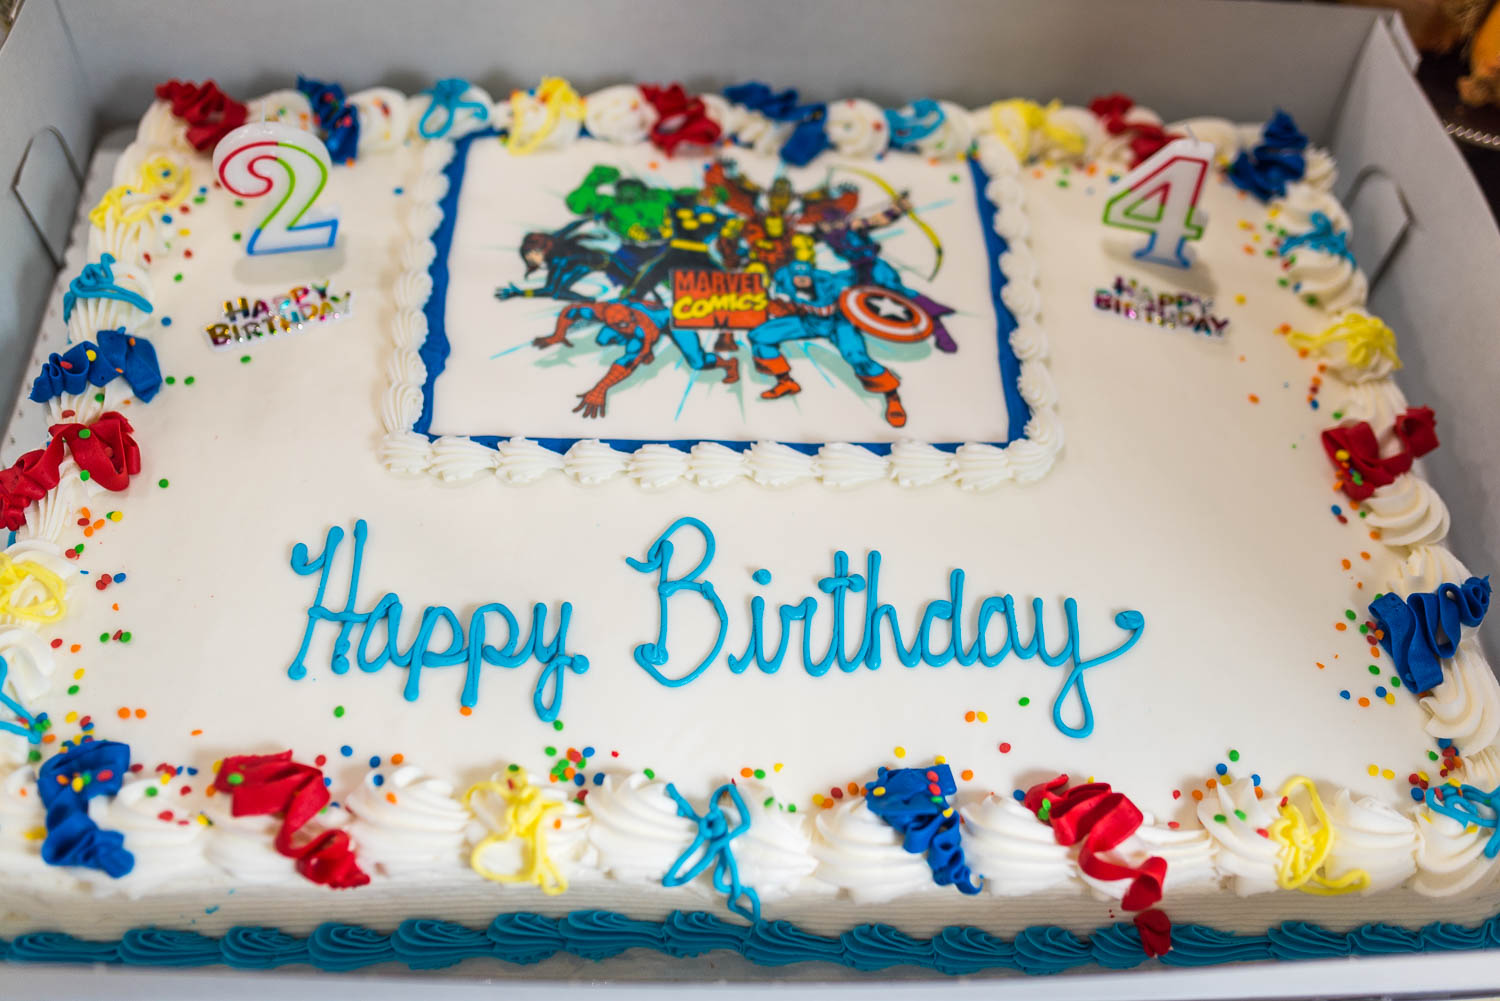
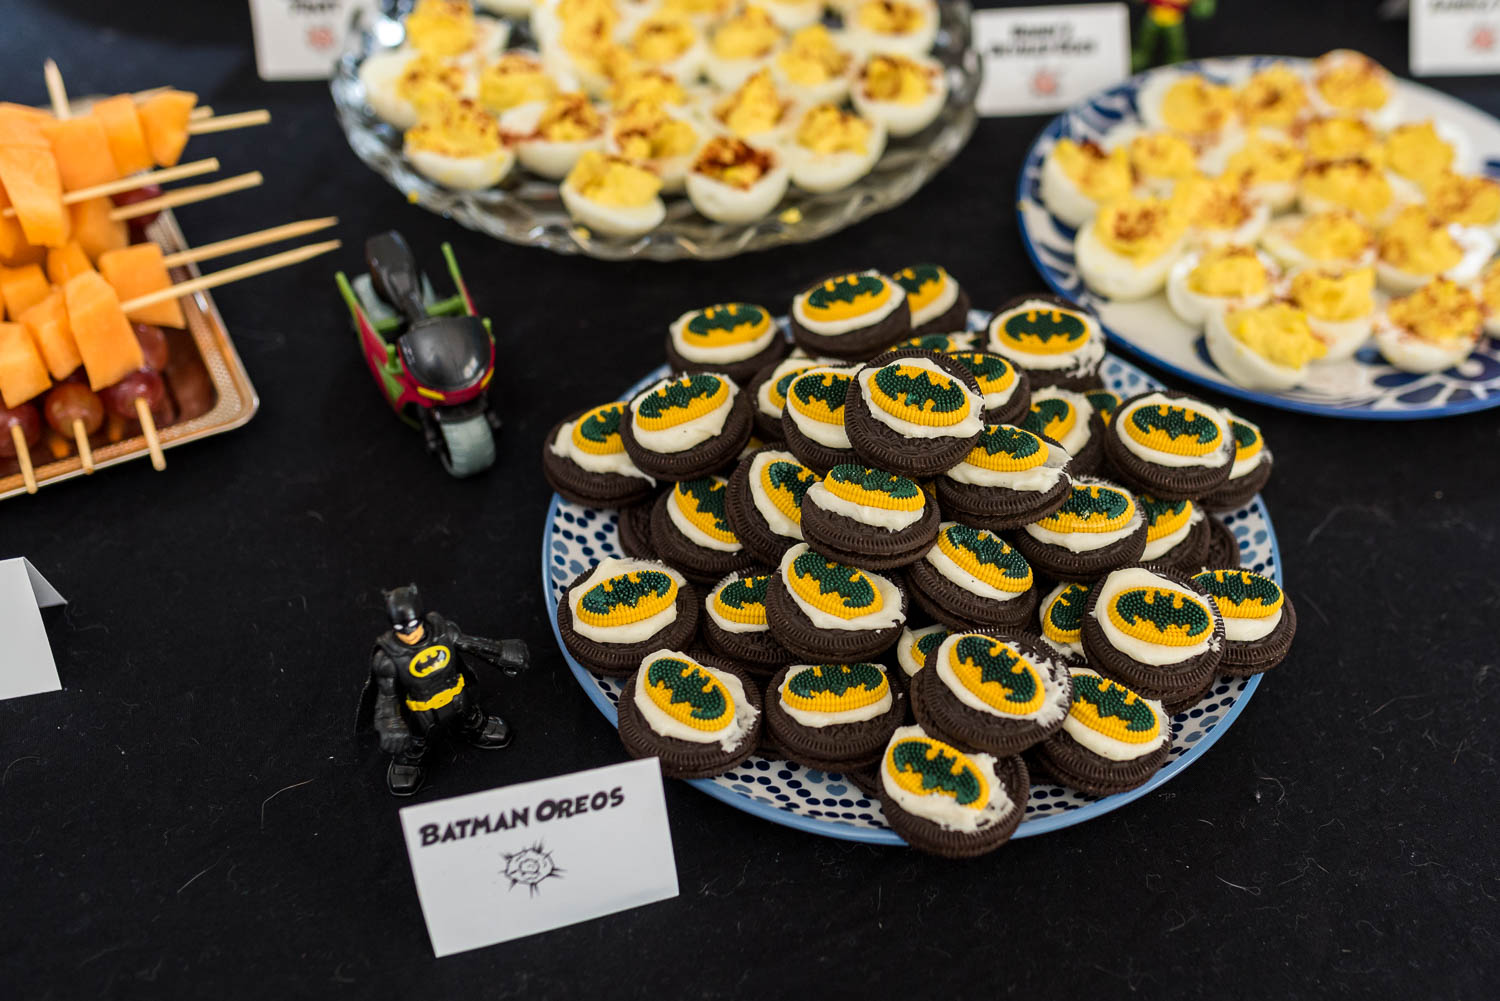
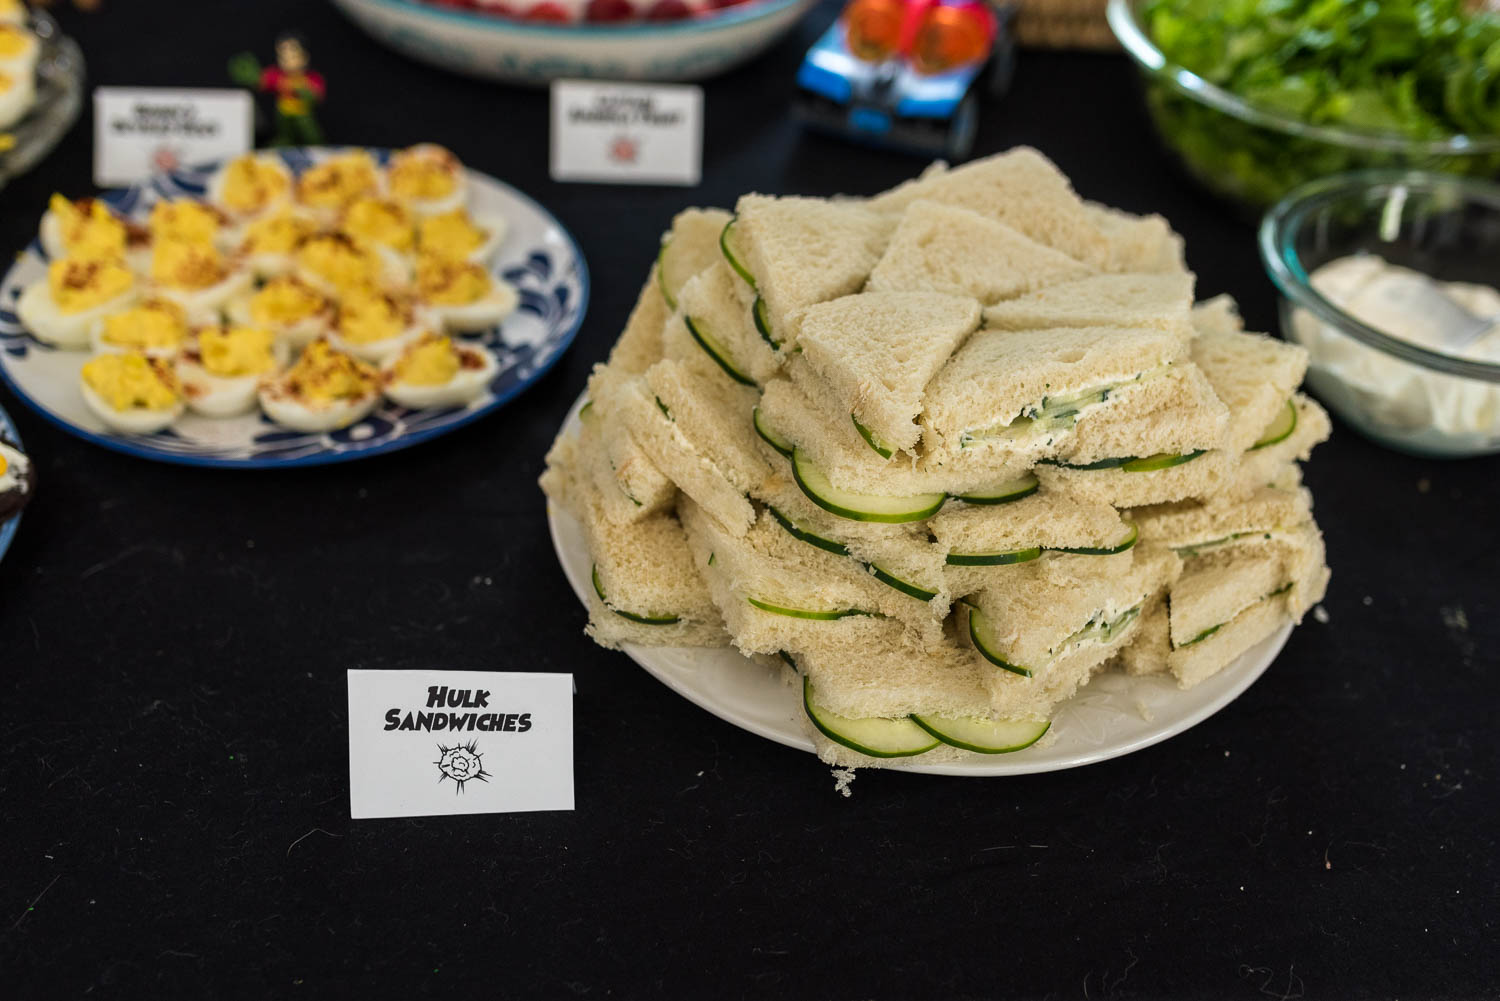
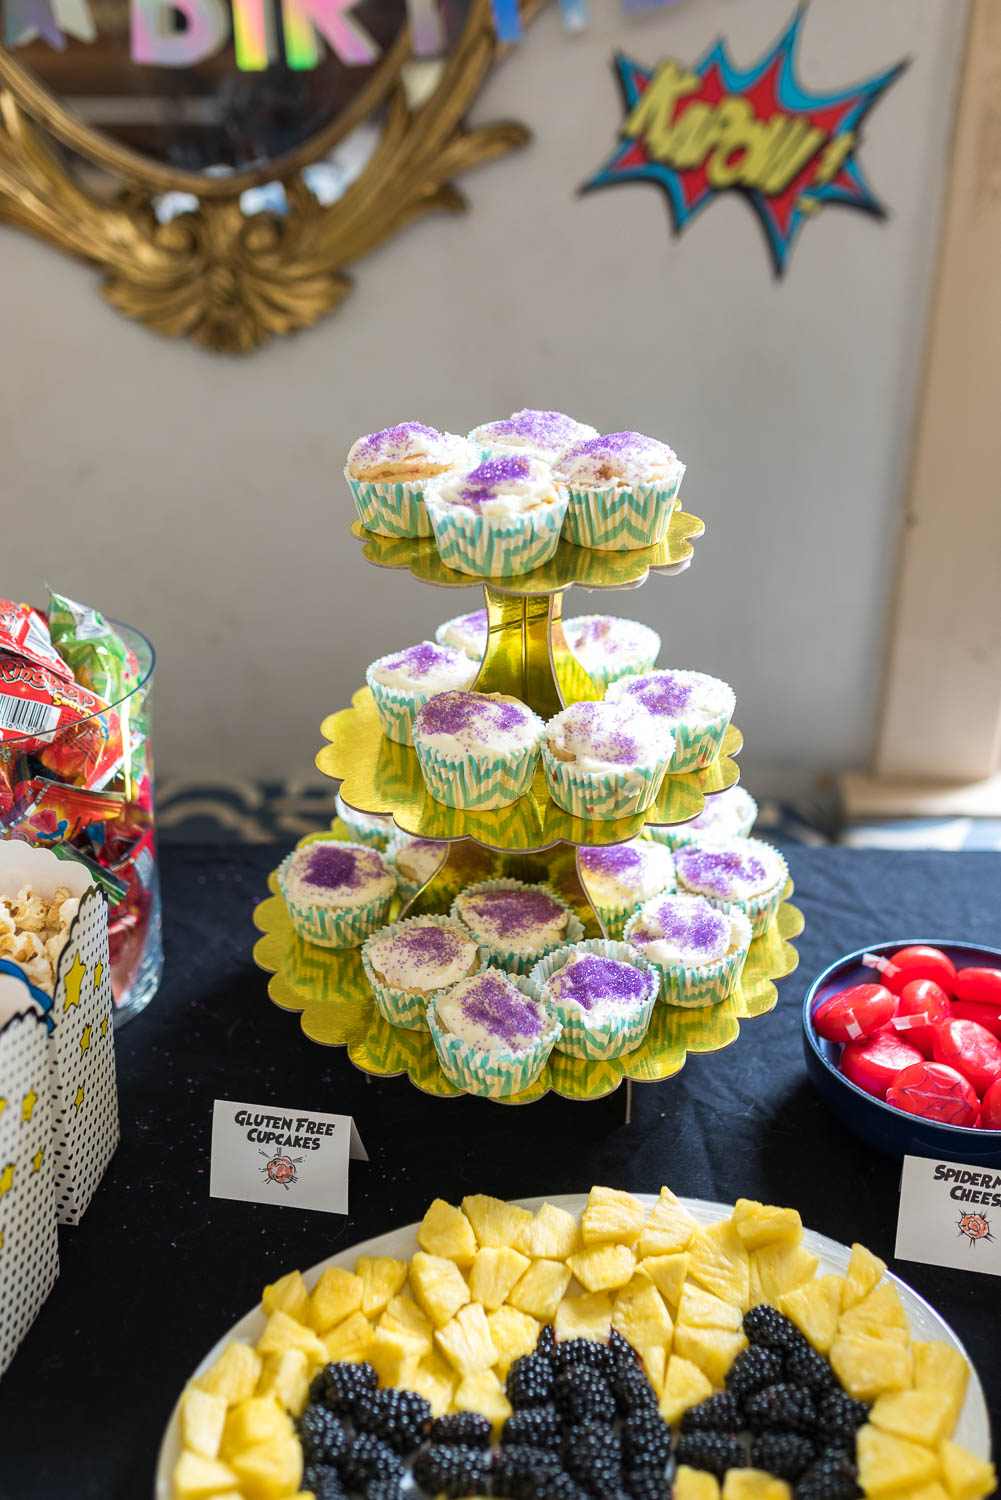
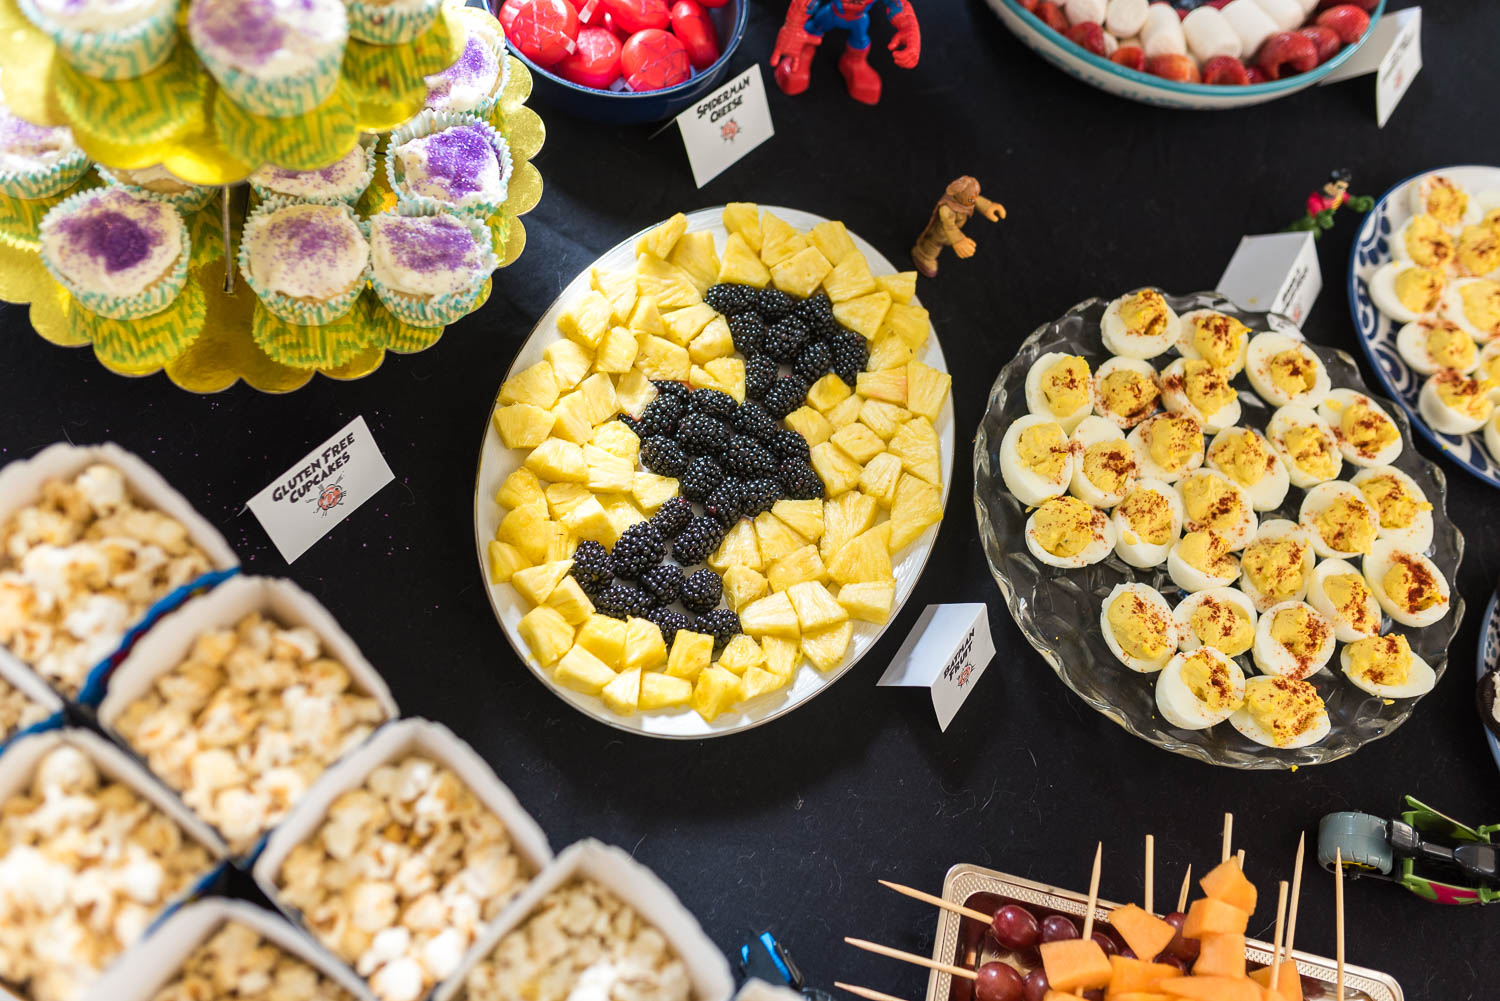
Of course, all these superheroes needed plenty of energy to save the day. I’ve always loved doing themed food at parties, but I’ve learned over the years what is popular and what just ends up as leftovers. I definitely over-estimated on the cake, but I’m not even that sad because I love leftover cake.


You can buy a 40-count box of individual Fritos from Amazon for around $15, which works out perfectly for portable, fun taco salad. At the camping party we called them walking tacos, today they were “ready for action” tacos, since you can eat them while running to stop bad guys.
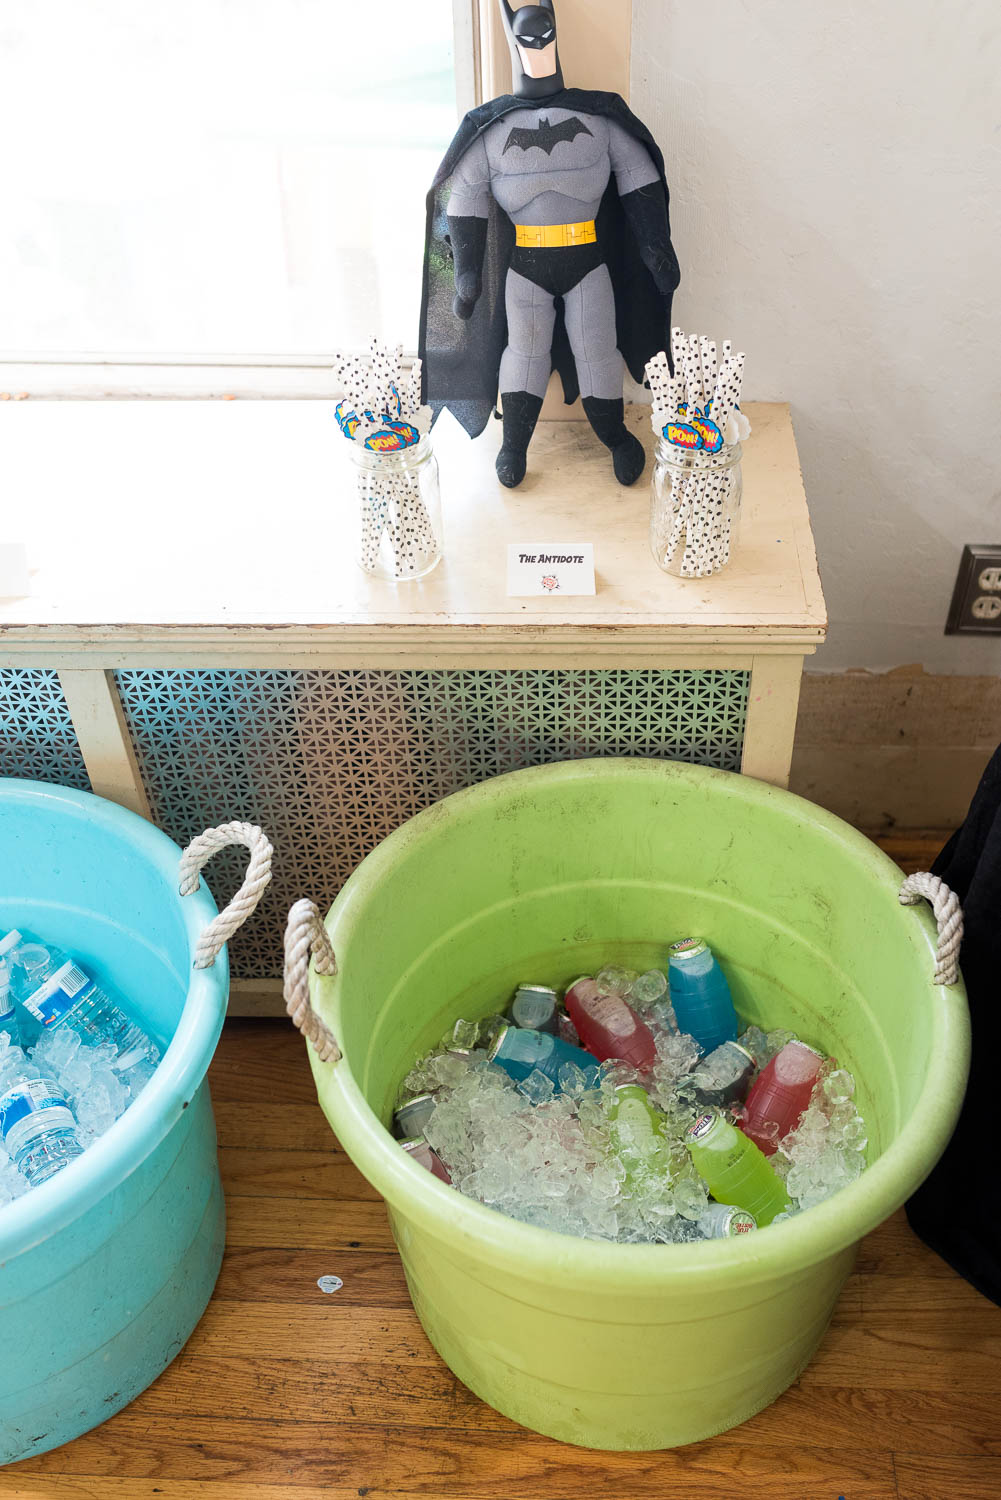


Two bottles of red wine, a bottle of lime selzer, some fresh fruit. It was DELICIOUS.
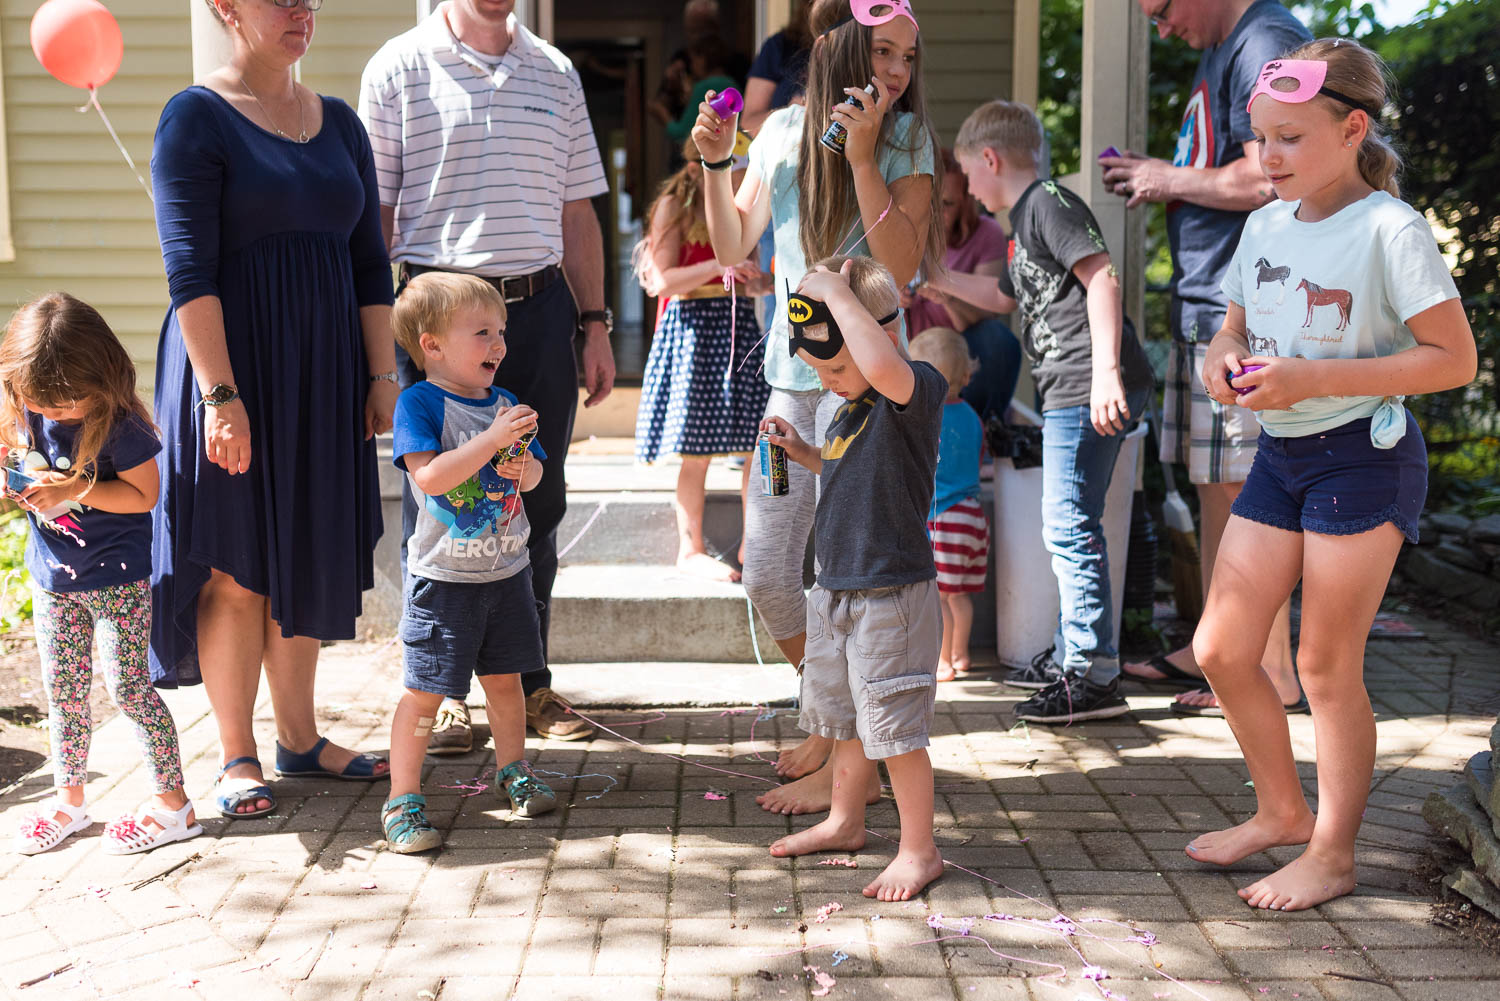
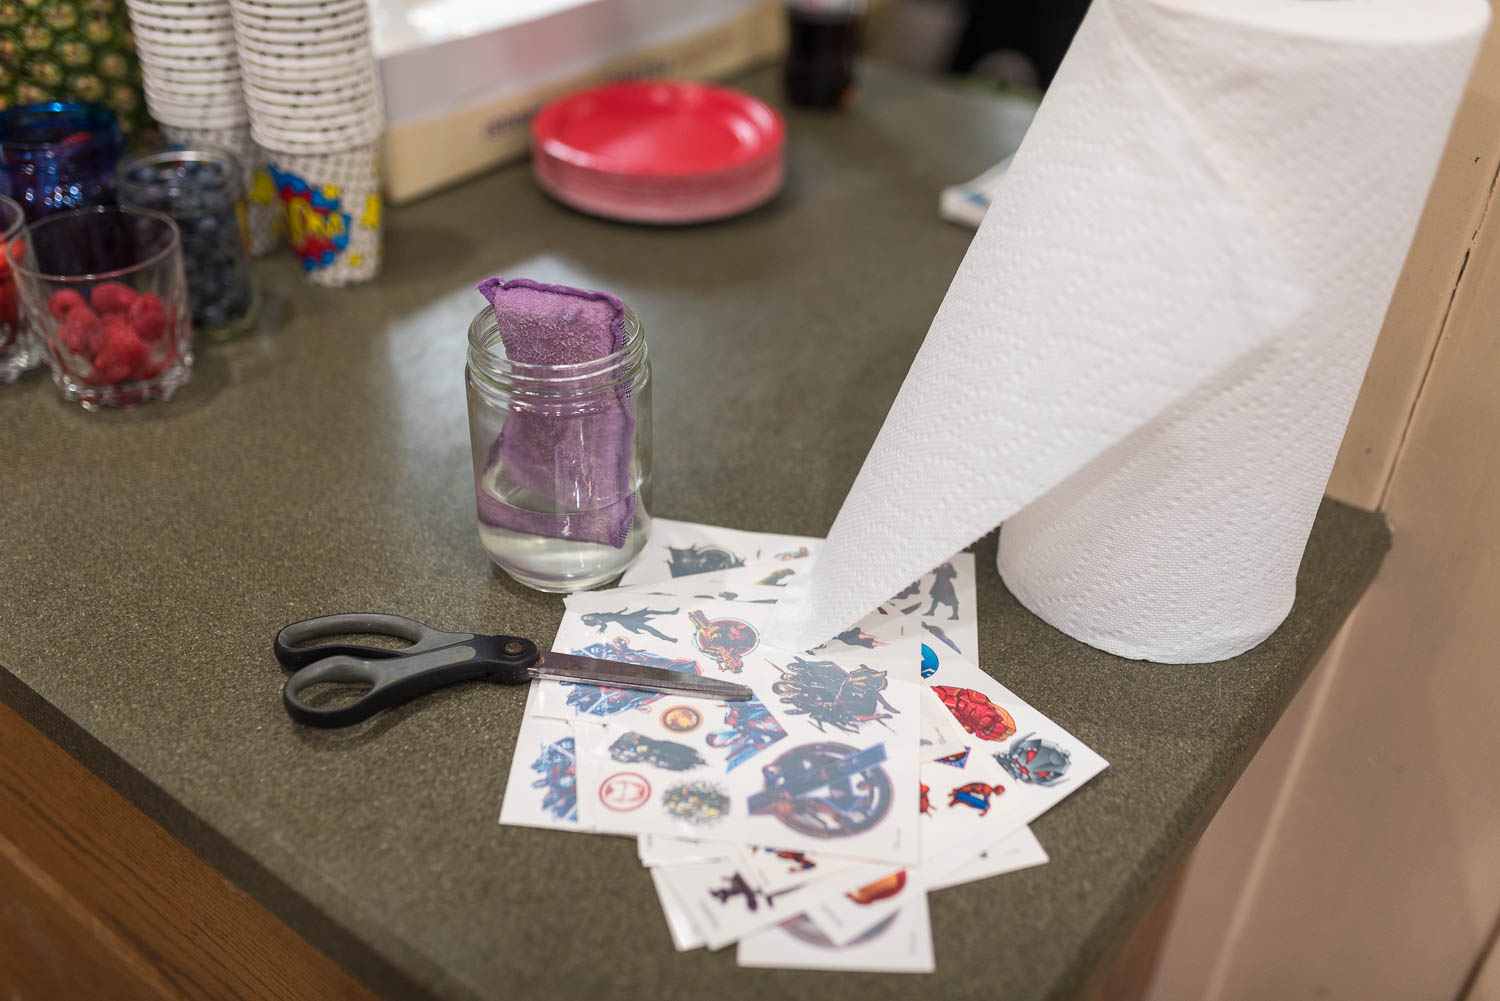
We also had favors (bubbles, tattoos and a toy) as well as a tattoo station.

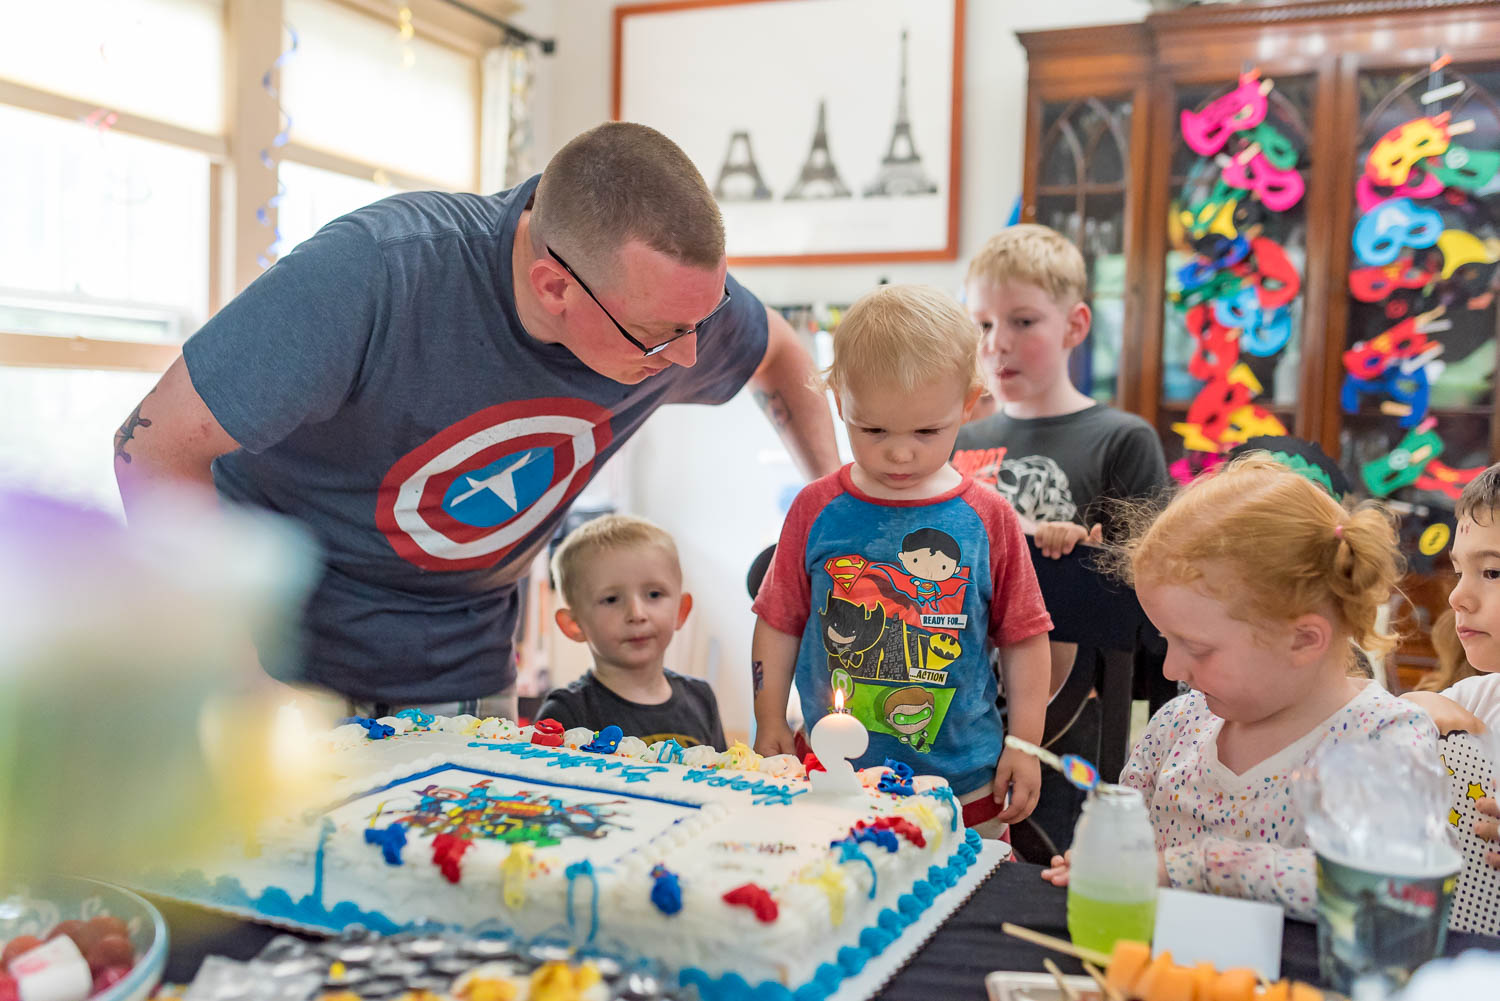
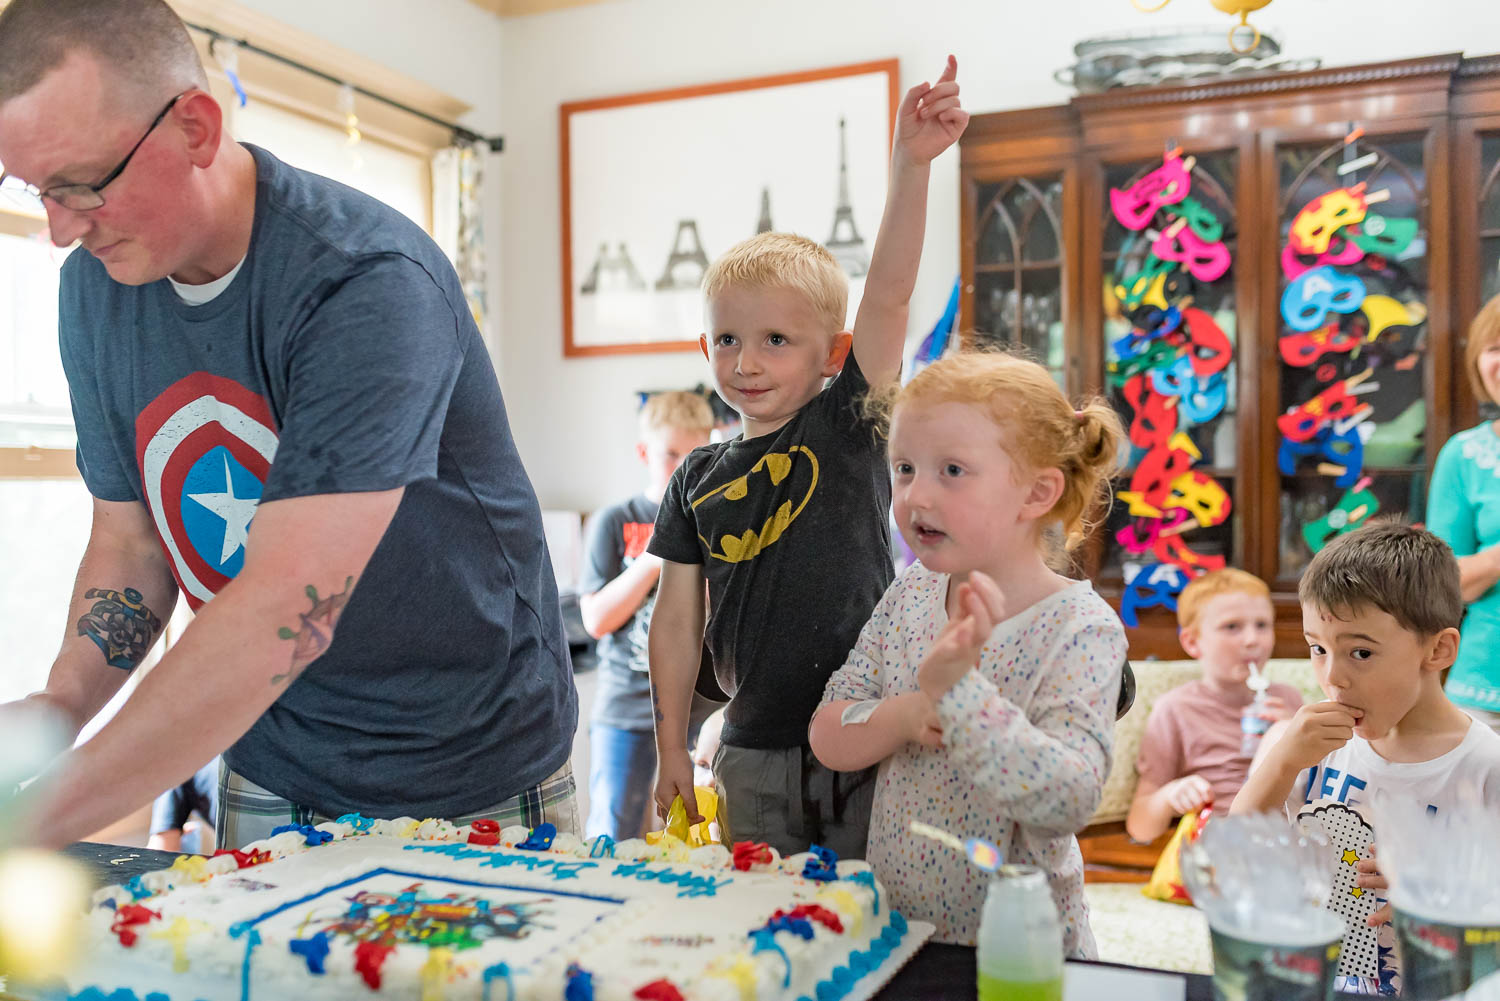
Finnegan did not understand how to blow out his candle, but he definitely liked the cake and the part where everyone sang. Linc just loves everything about birthdays.


At the end of the day, we even managed to get some family photos of us all in our on-theme outfits. It was just a perfect day with amazing weather and SO many great friends. A huge thanks to my parents who did an enormous amount of work for party prep and clean-up and all our Ohio relatives who made the super long drive to help celebrate the babies! Having cousins here for their birthday was such a treat.


(Finnegan isn’t dripping blood, it’s ring pop. He’s obsessed.)
Happy Birthday to Lincoln and Finnegan! We love you!!