How To Make Robot Shaped Crayons
This is an easy tutorial for robot shaped crayons only because we were having a robot-themed birthday. It’s really for any kind of shaped crayons – the possibilities are endless. All you need is a few boxes of regular crayons, a silicone mold and an oven.
Step 1: Peel all the wrappers off the crayons. It’s tedious, but put on a movie, grab a glass of wine and get to work.
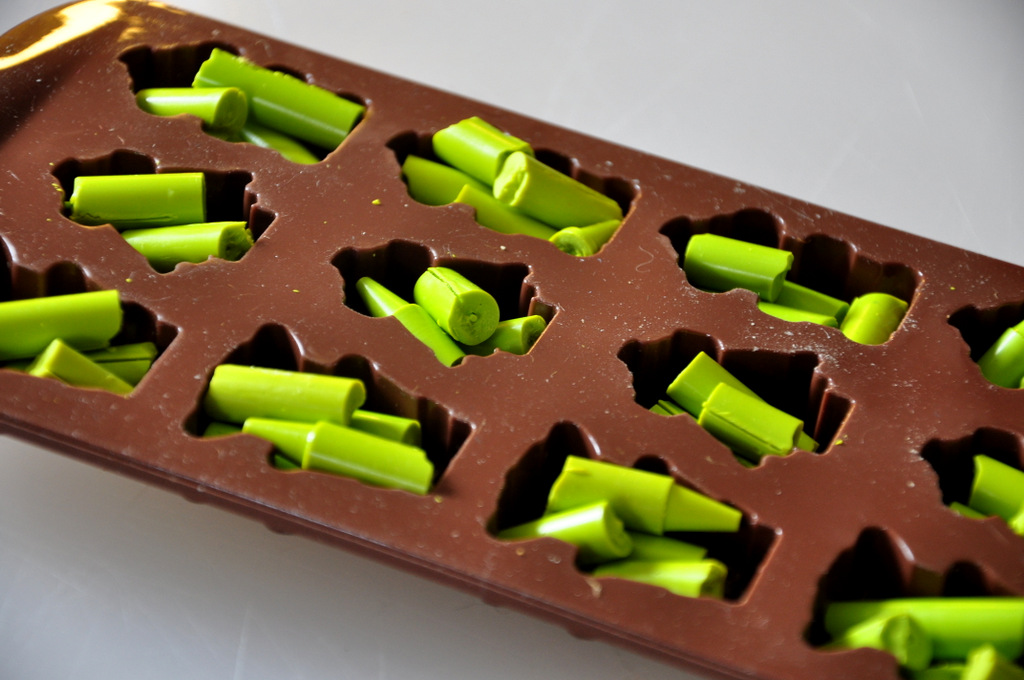
Step 2: Break the crayons into pieces. For the 1 inch molds we broke each crayon into 3 or 4 pieces.
Step 3: Put broken pieces directly into the silicone mold.
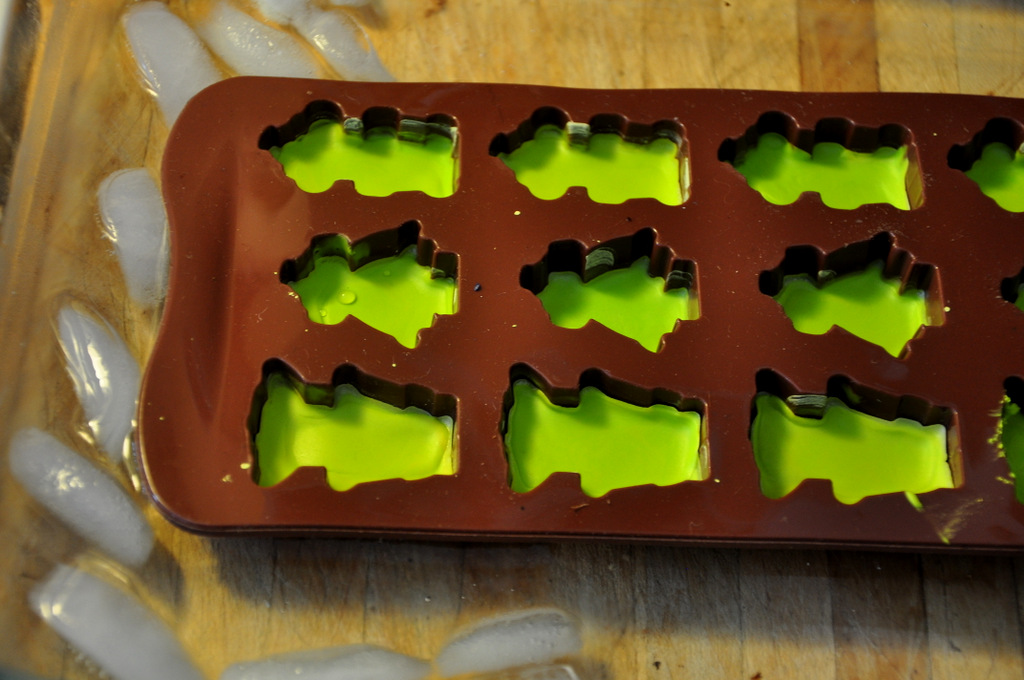
Step 4: Put the mold in an oven or toaster oven set at 350 degrees for approximately 5-7 minutes, or until the wax has melted.
Step 5: Carefully transfer the mold to a shallow dish filled with ice water. Once the wax cools and hardens, pop out the crayons and repeat!
Tips:
- We were looking for a way to melt the wax to pour into the molds when I suggested just melting the wax IN the mold. It worked perfectly, and all the details on the crayons showed up really well.
- This is the silicone robot mold we used for the crayons. It’s technically for chocolate, but any silicone mold would work for crayons.
- Wax DOES burn, so keep an eye on your crayons and don’t try to rush them by turning the oven up too high.
- If you set your mold on a piece of tin foil (see below) the foil cools almost instantly and it’s easy to transfer to the cold water without tipping or sloshing the wax.
- We only filled the molds about half way – it kept the crayons easy for little hands to grab.
Robot birthday post coming soon!
Tags: crafty, crayons, DIY, friends, fun, kids, make your own crayons, party, robots


You’re a genius! Love this!!
Those are adorable!
This is awesome! I wonder if I can do this with a dinosaur baking tin I have (its for dinosaur cupcakes)
OH SHUT UP, you made crayons? You are just too freaking crafty, it makes my head hurt. Also, could you please move in with me and help me decorate my house? Because the nesting has started and I’m a little overwhelmed.
MMMKTHX
[…] Those are just paper bags spray painted silver with a paper plate glued to the front (for a “dial”) and holes cut for head and arms. The kids decorated with peel and stick foam shapes and robot shaped crayons. […]
Great post!!! :)